

Employees, Roles & Payroll
Step-by-step guide to managing staff accounts in RestIQ BackOffice, assigning fast POS authorization PIN codes, configuring granular role-based permissions, and setting up automated salary calculation rules.
The Employees module lets you manage user accounts, assign quick POS terminal access PINs, configure role-based permissions, and define flexible payroll and sales bonus rules. Follow these steps to configure staff accounts:
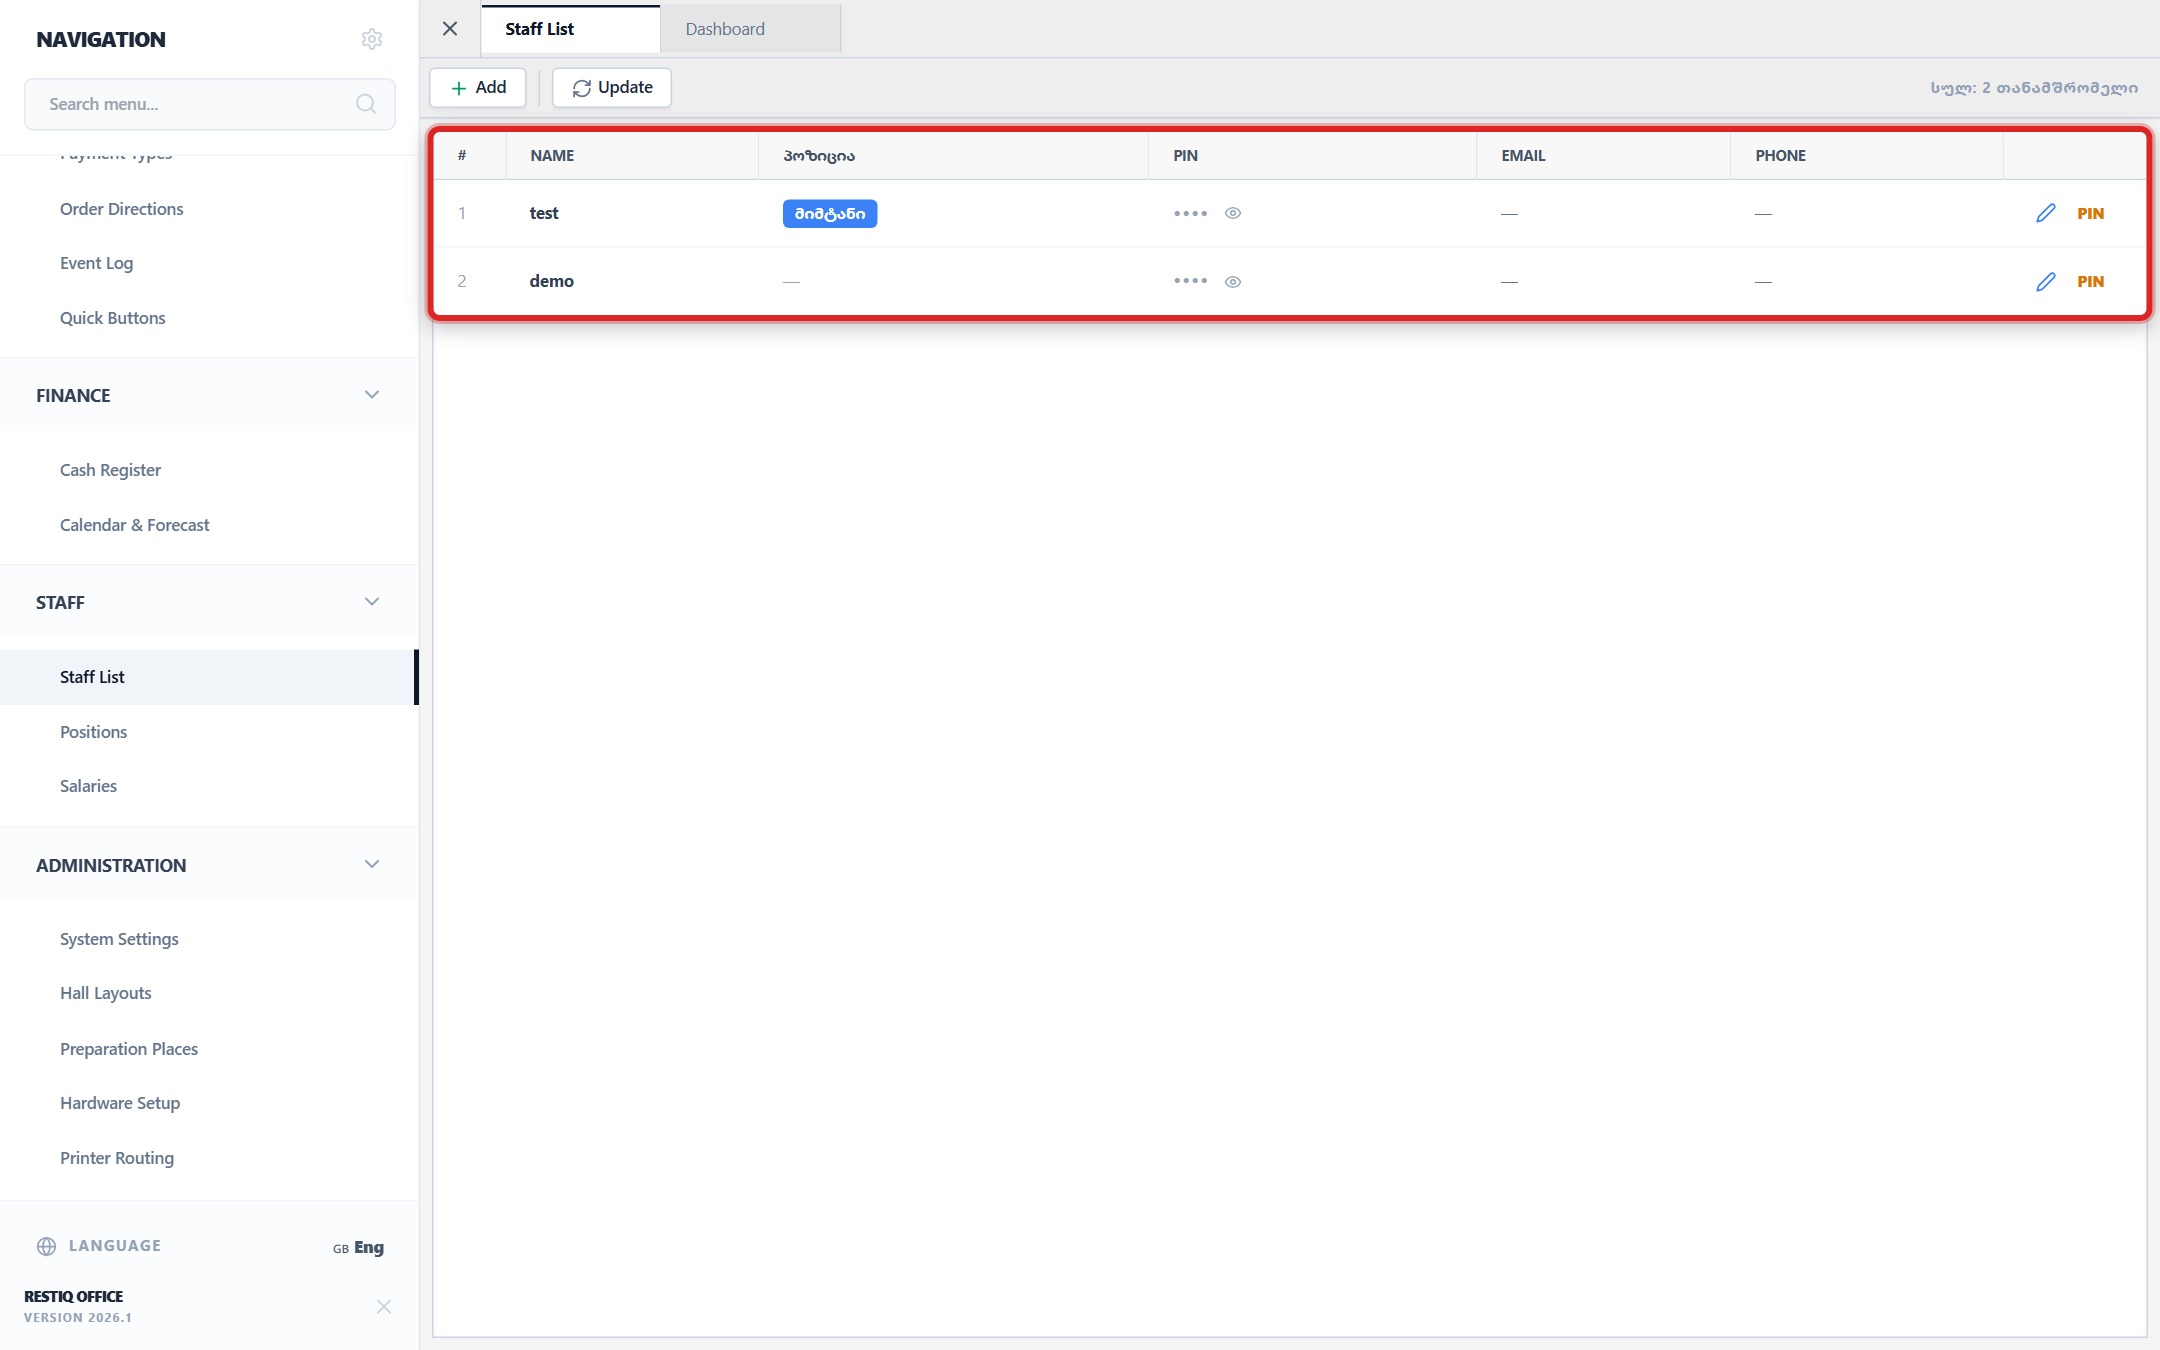
From the navigation sidebar, navigate to "Staff" -> "Staff List" to view the active employee directory.
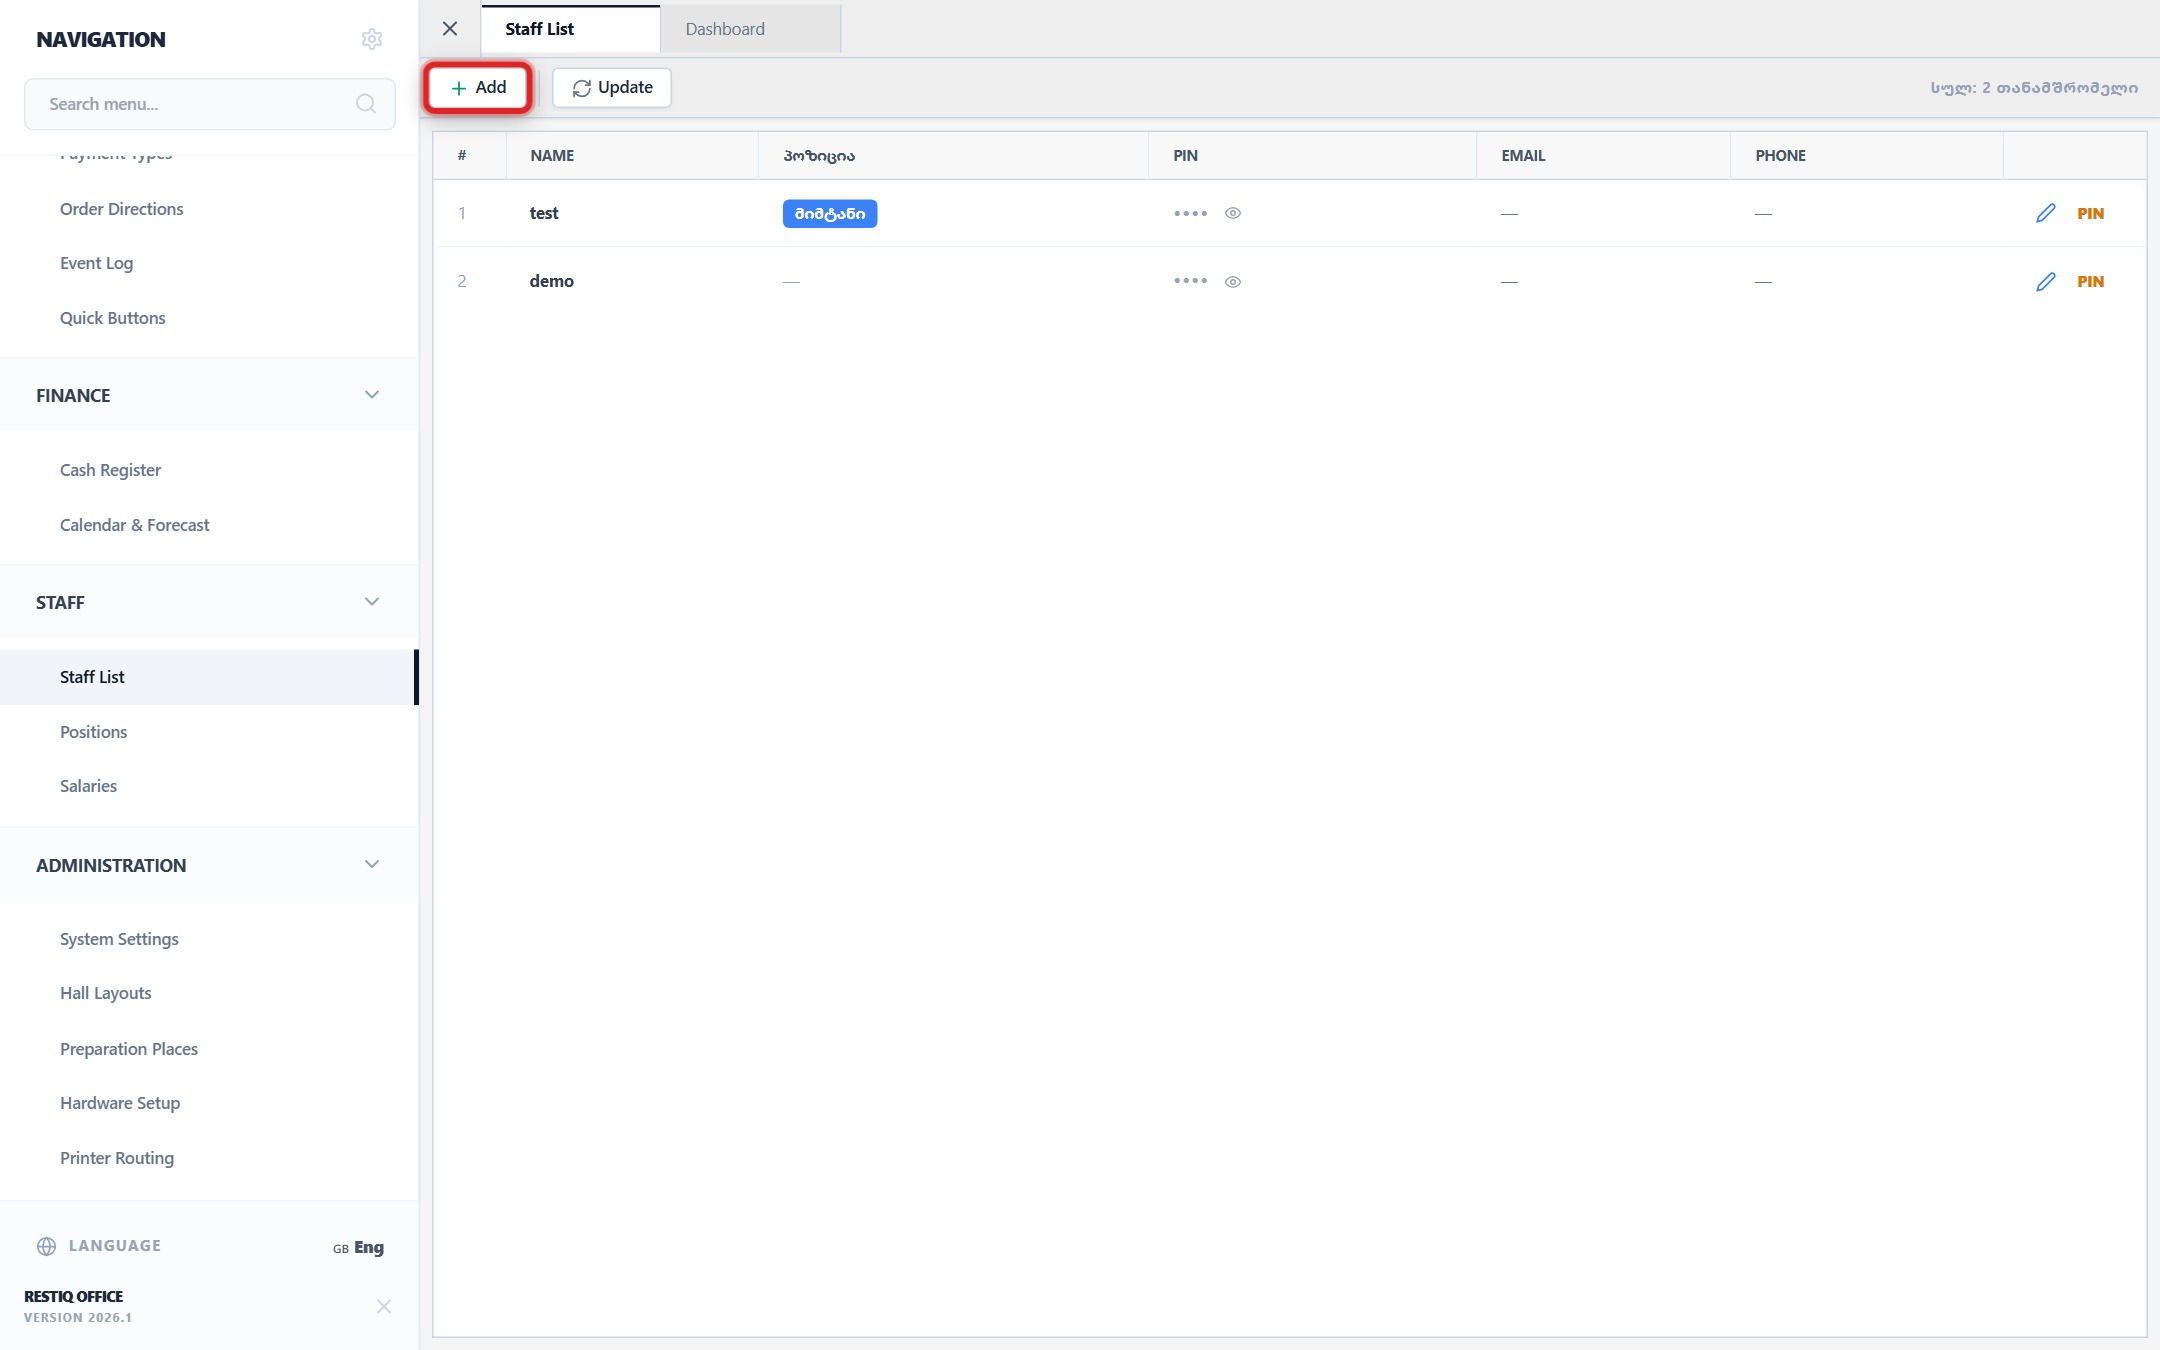
To register a new employee, click the "+ Add" button located on the top action bar.
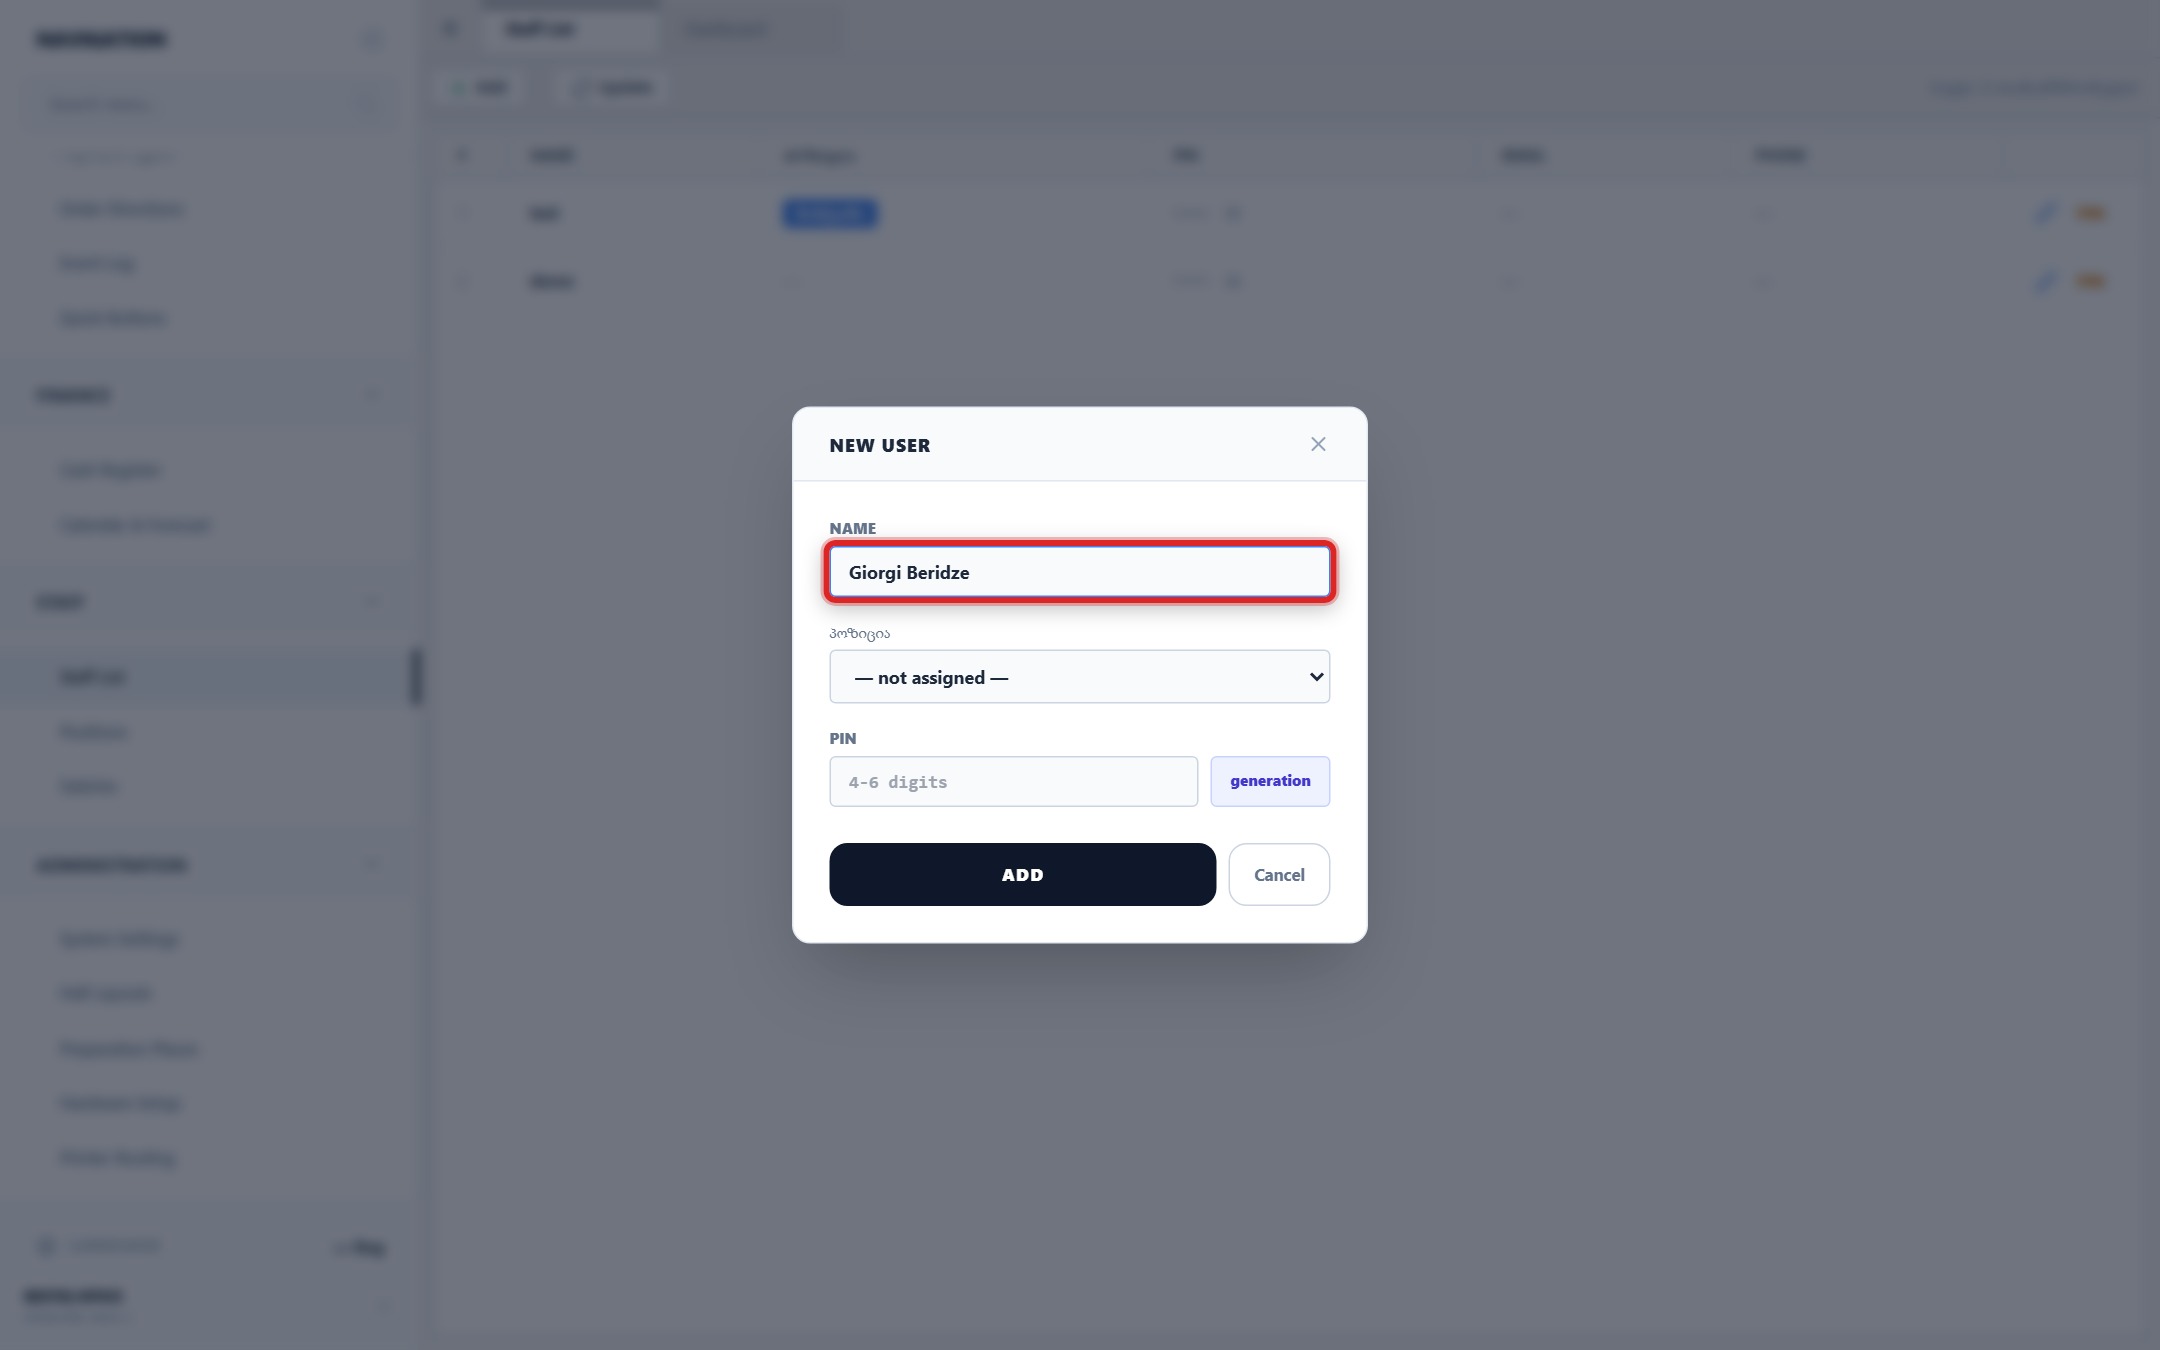
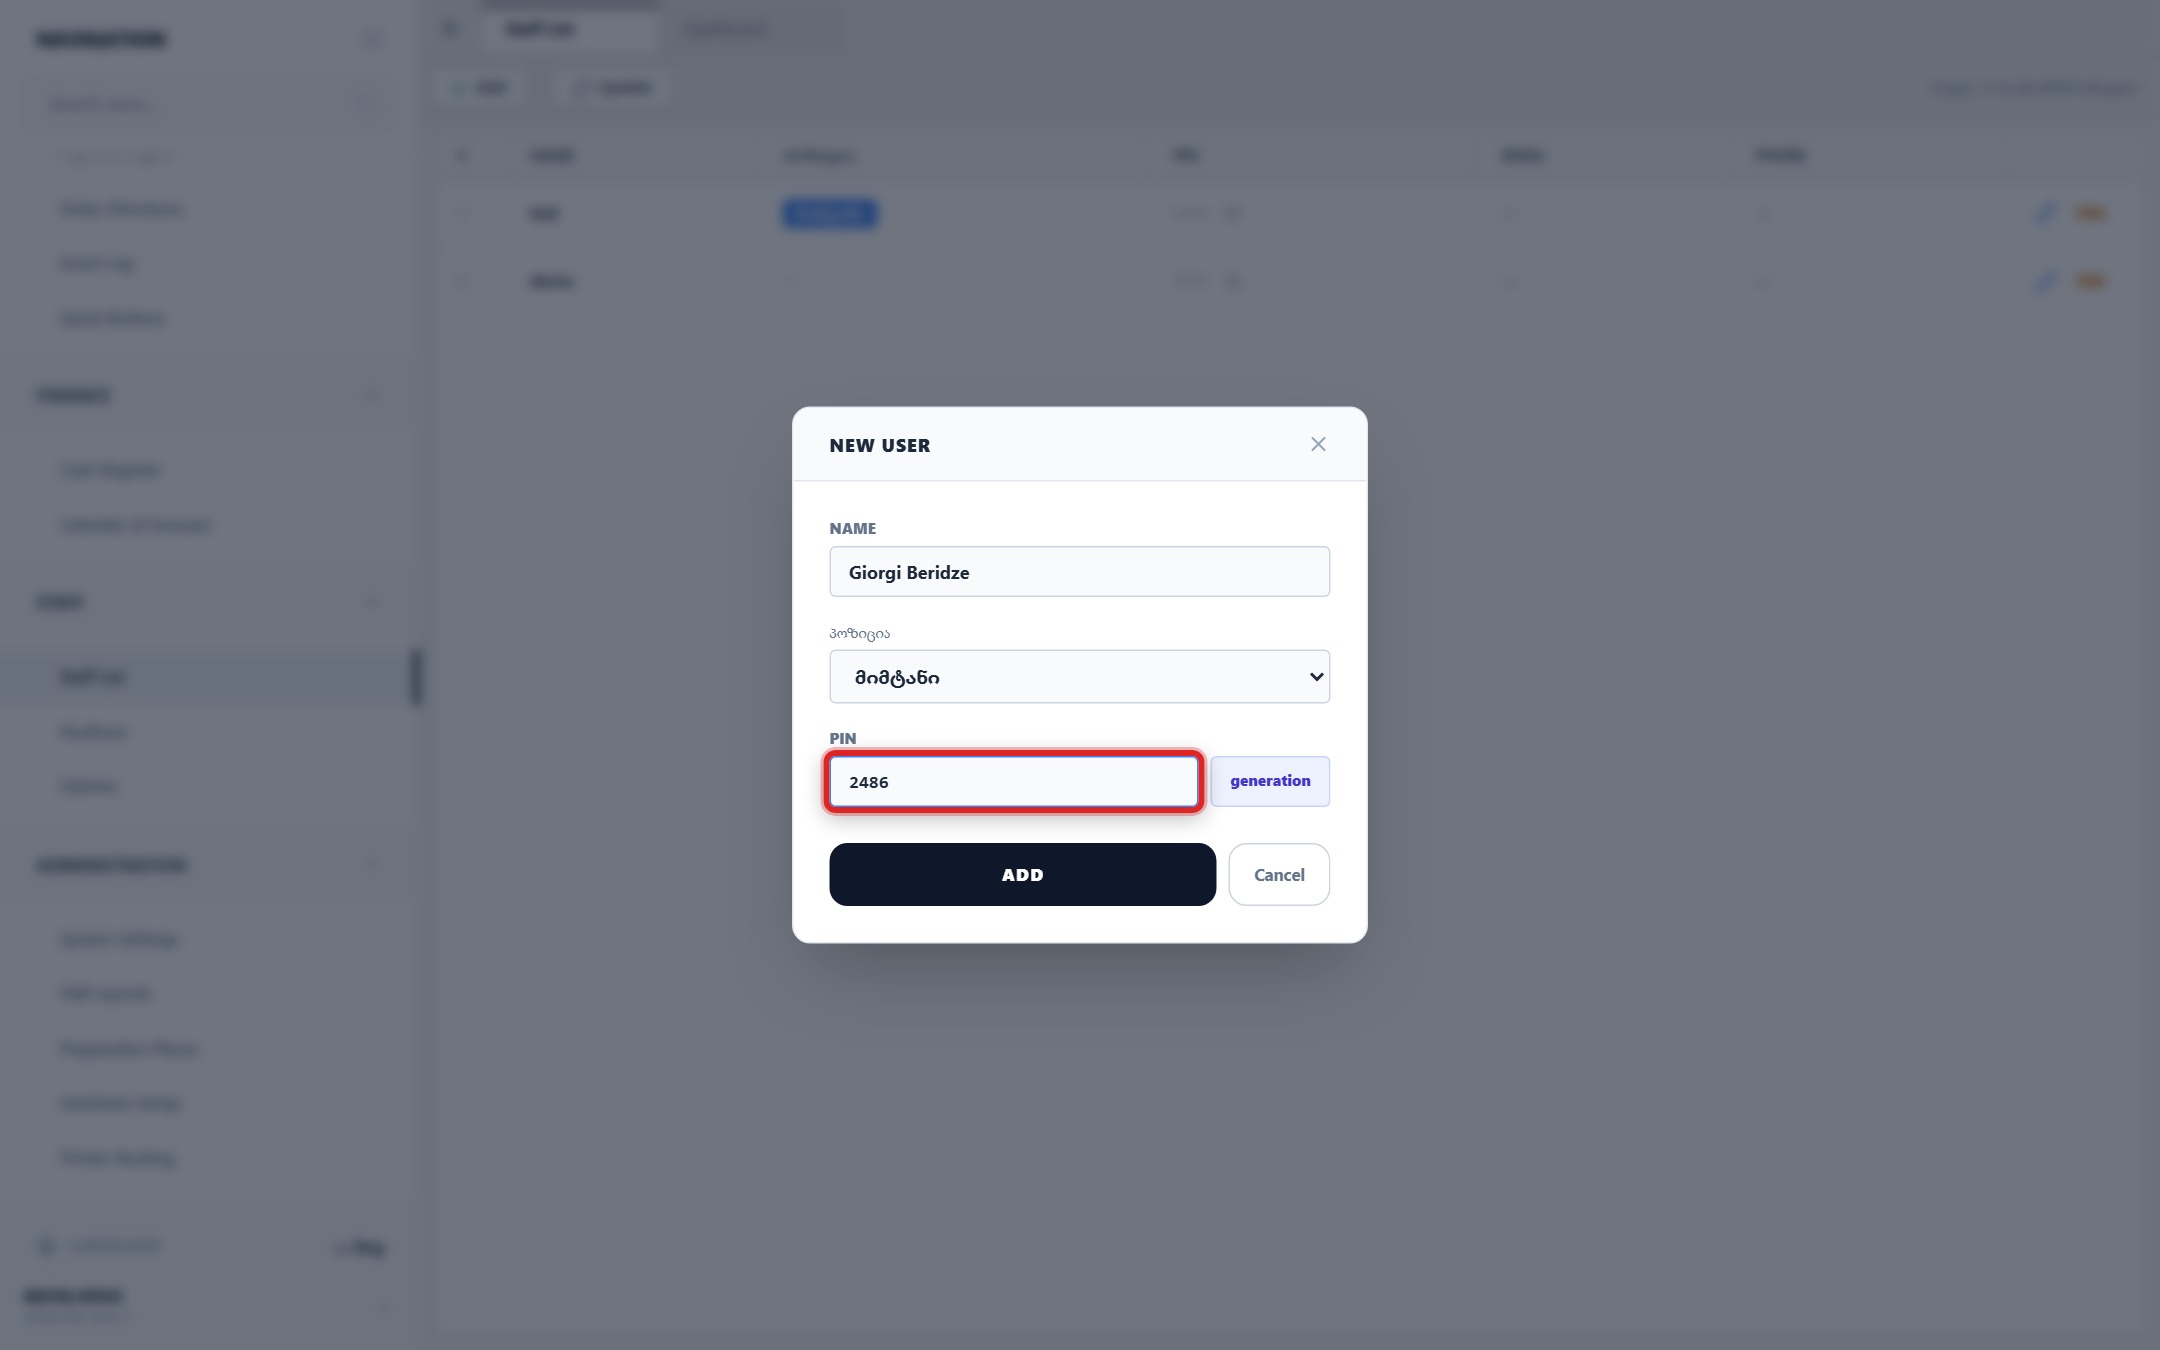
Enter the employee's full name in the personal details field.
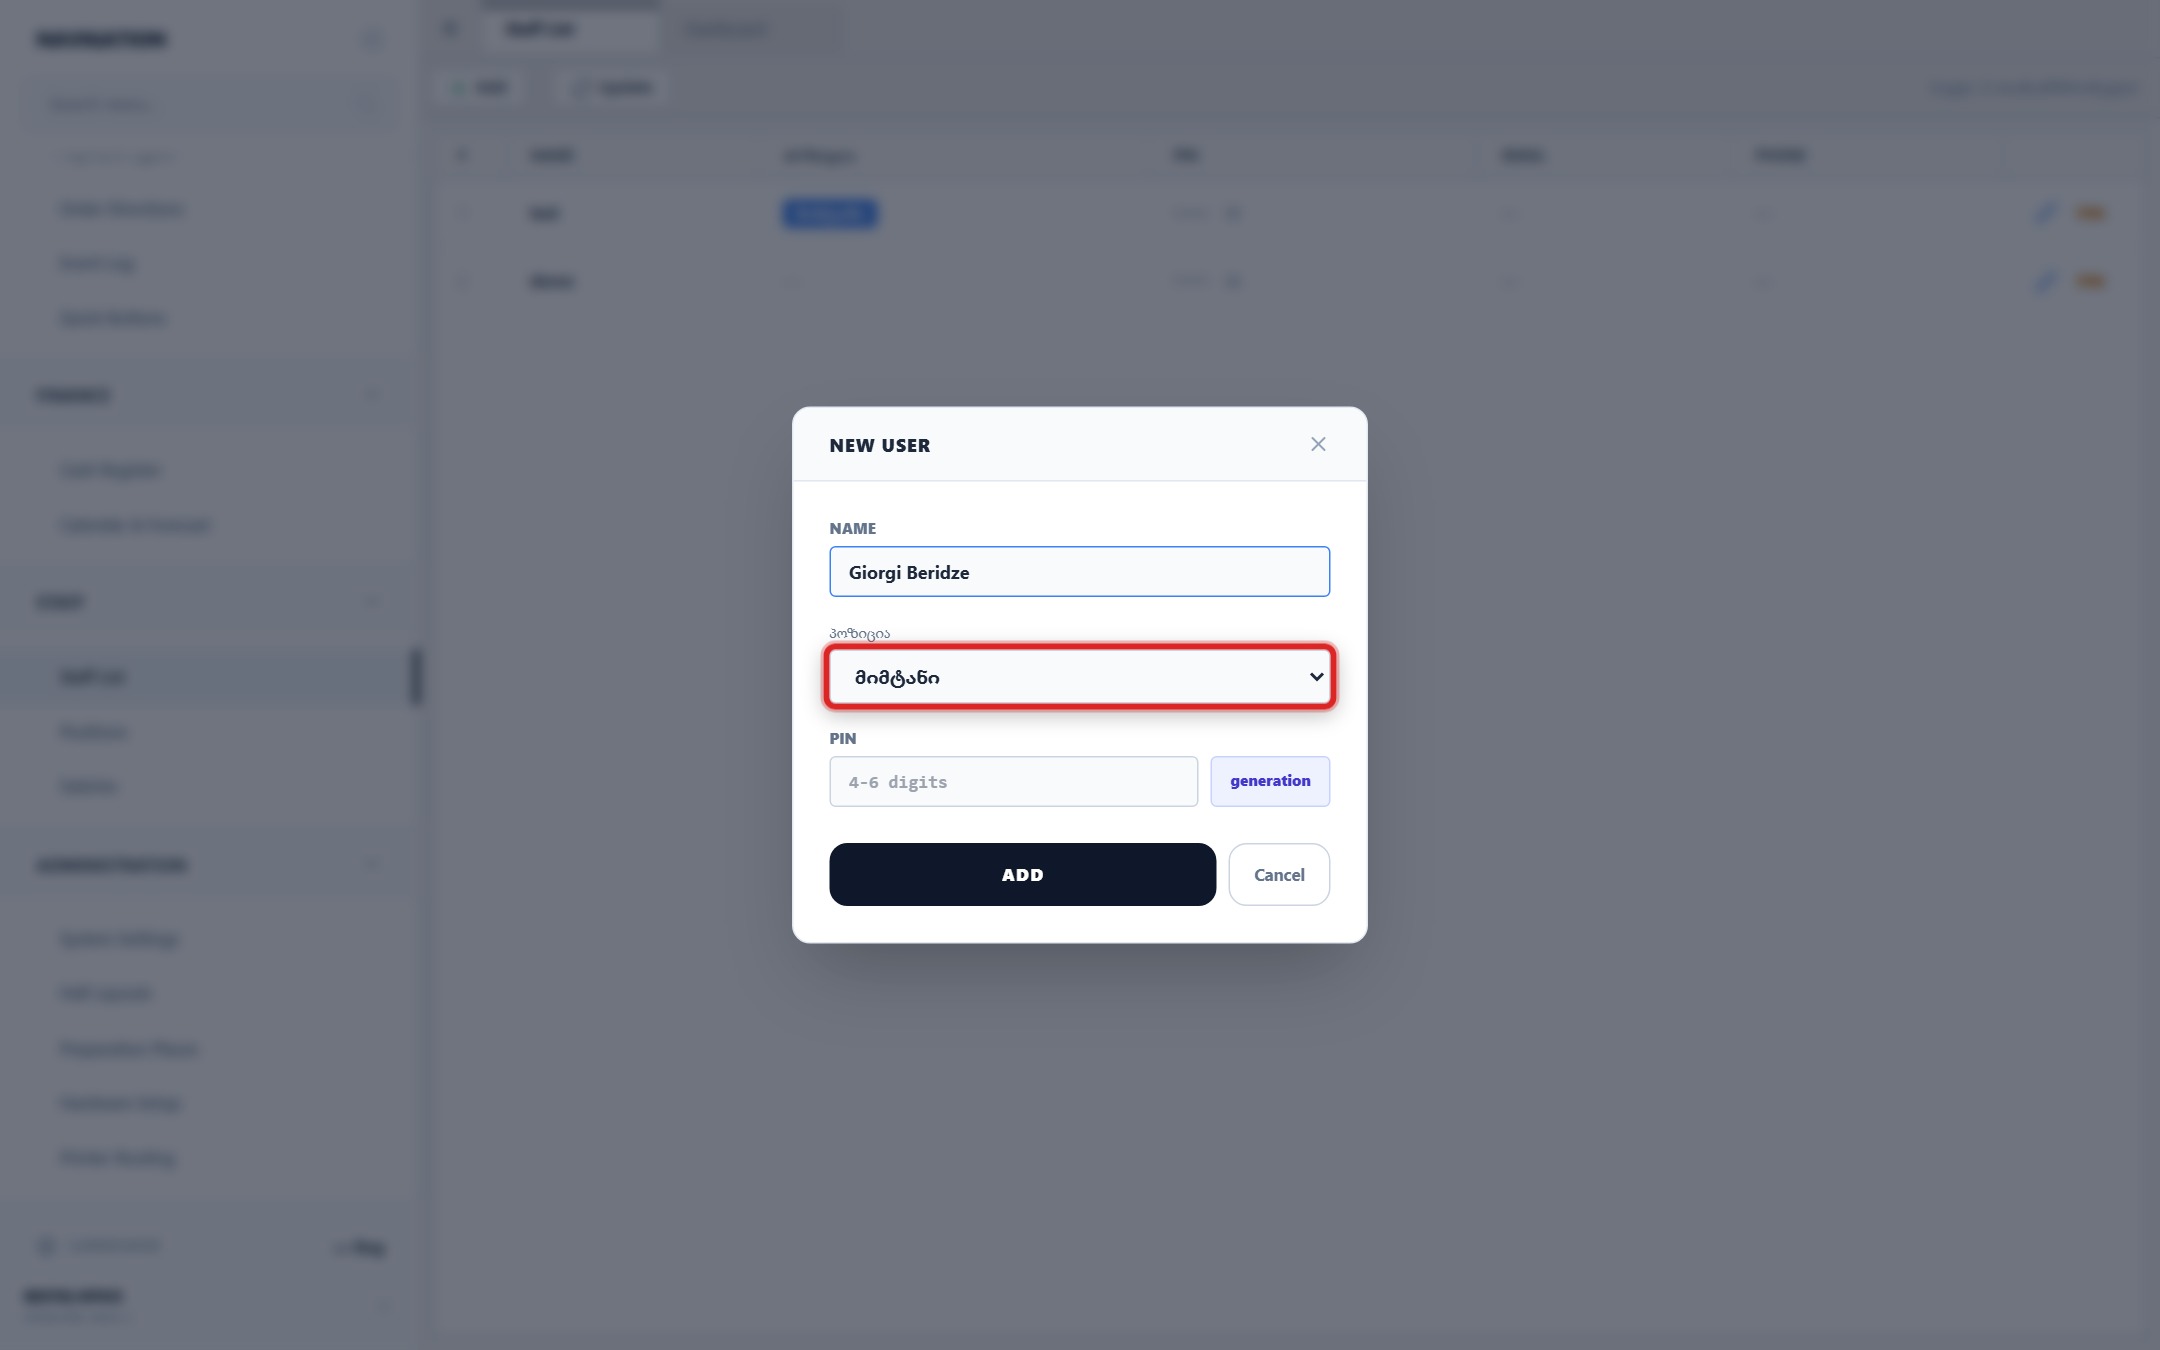
Select their primary job position and role from the dropdown selector (e.g., "Waiter", "Cashier", "Cook", "Manager").
Assign a 4-6 digit numeric PIN code for fast terminal authorization, or click "Generate" to create one automatically.
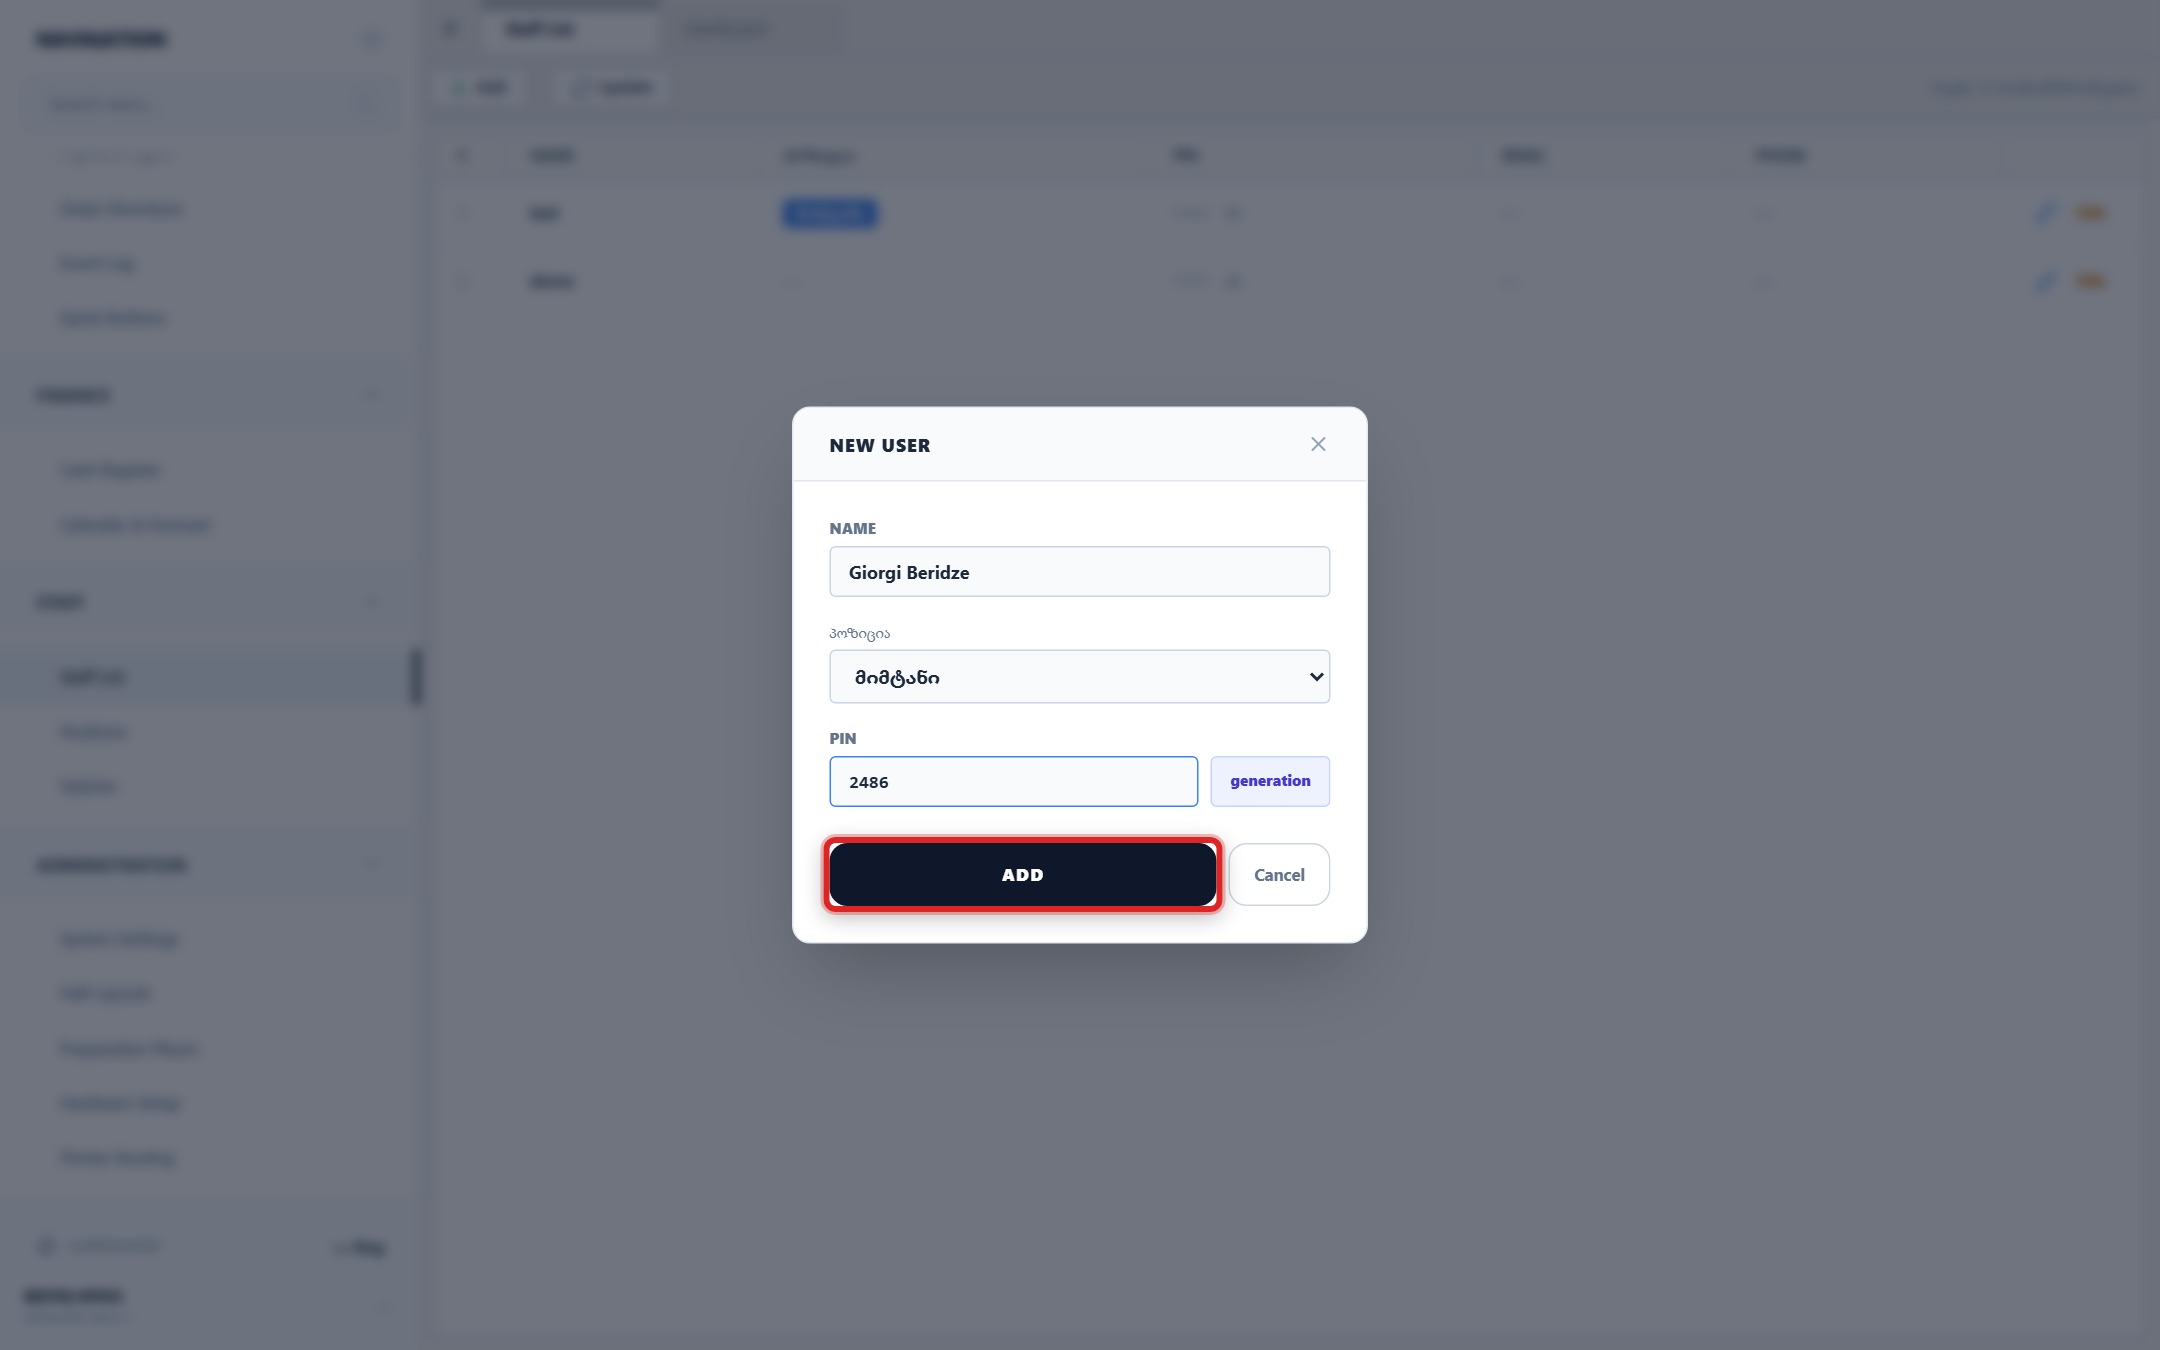
Verify the employee information and click "Add" / "Save" to confirm.
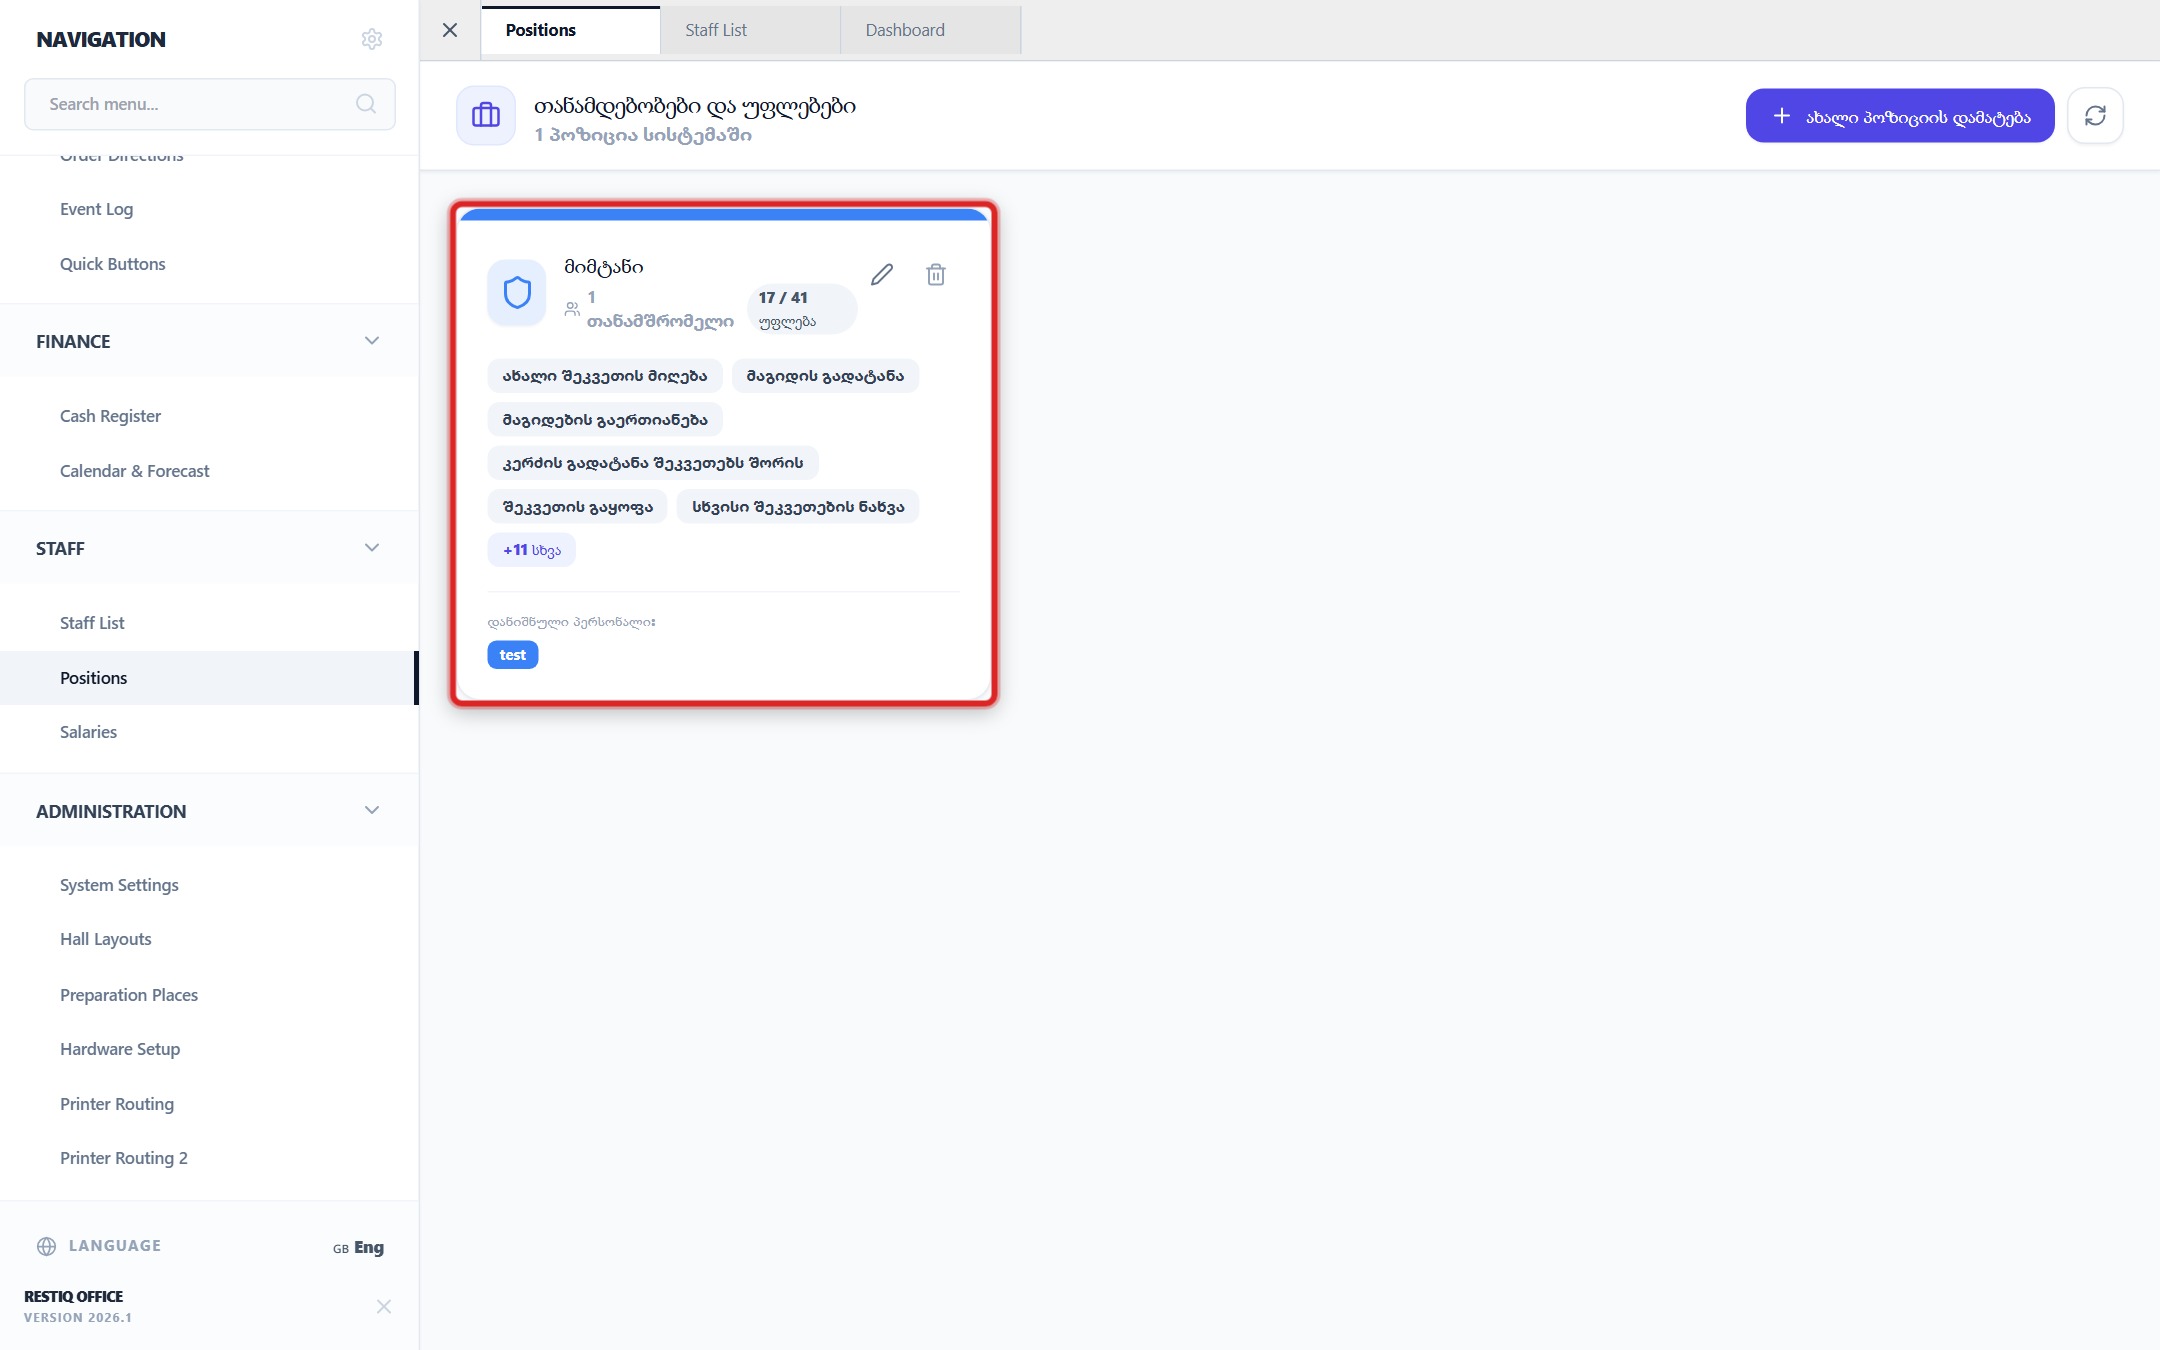
To customize granular POS permissions (taking orders, transferring tables, split bills, applying discounts), open the "Positions" view.
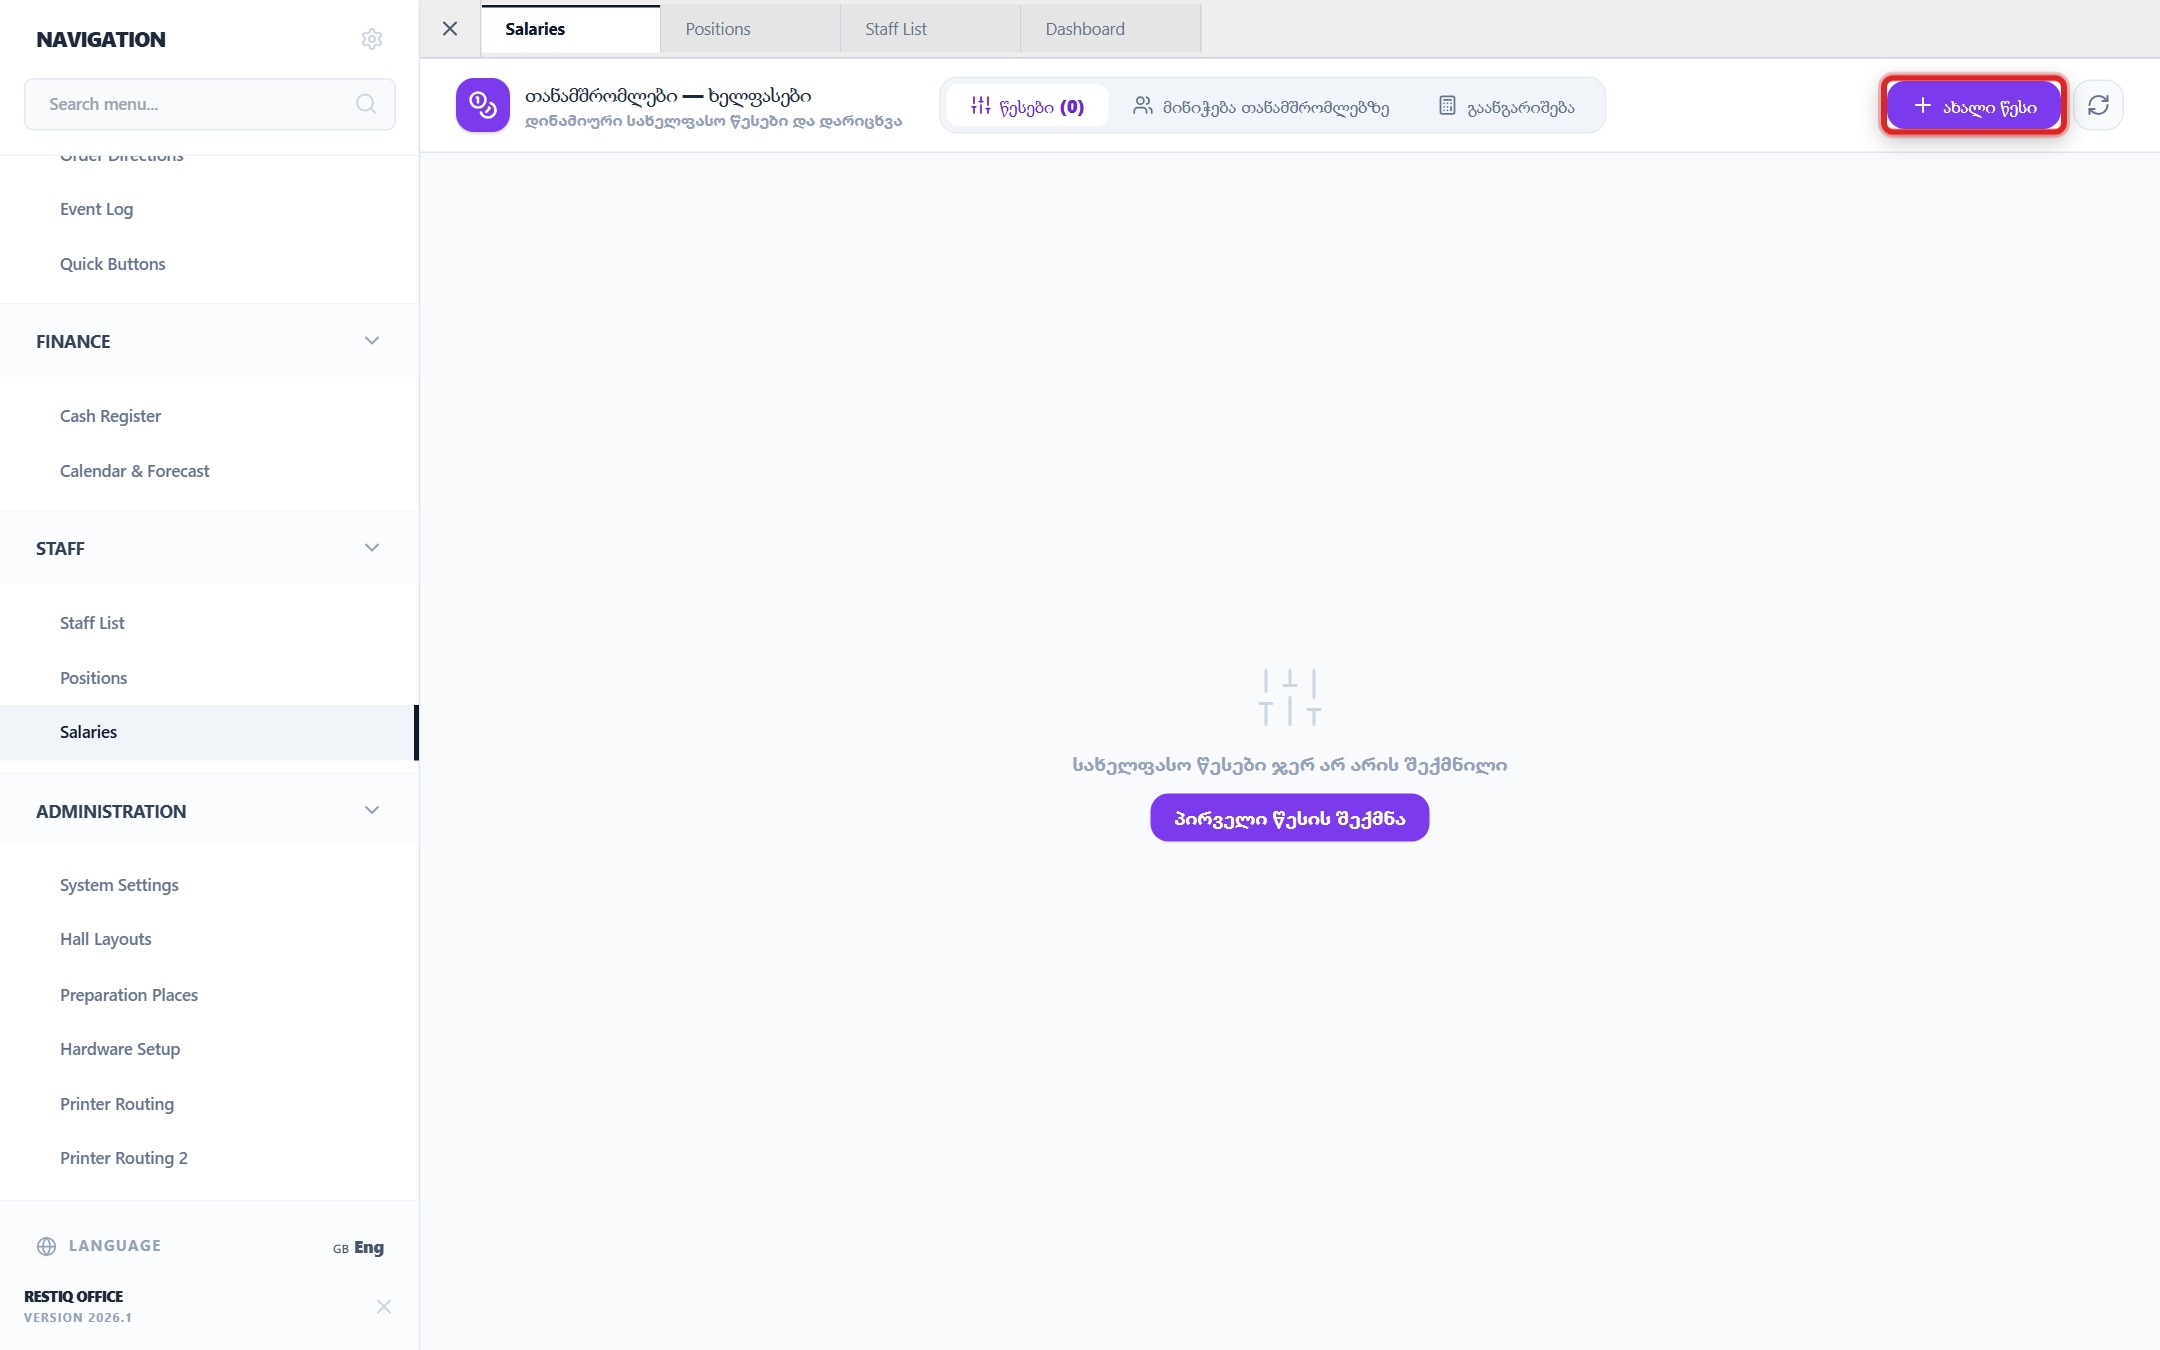
To configure dynamic salary rules (hourly/shift rates, % bonus on bar/kitchen sales) and run payroll, open the "Salaries" view.
Your feedback helps us continuously improve our documentation