

Creating Menu Items (Dishes) & Category Management
Step-by-step guide to creating menu items, setting selling prices, assigning preparation stations (kitchen printers), and managing categories in RestIQ BackOffice.
Menu items are the sellable food and beverages (such as pizza, steaks, salads, coffee, cocktails) ordered on the POS terminal and printed at designated preparation stations (kitchen or bar). Follow these steps to create a new menu dish:
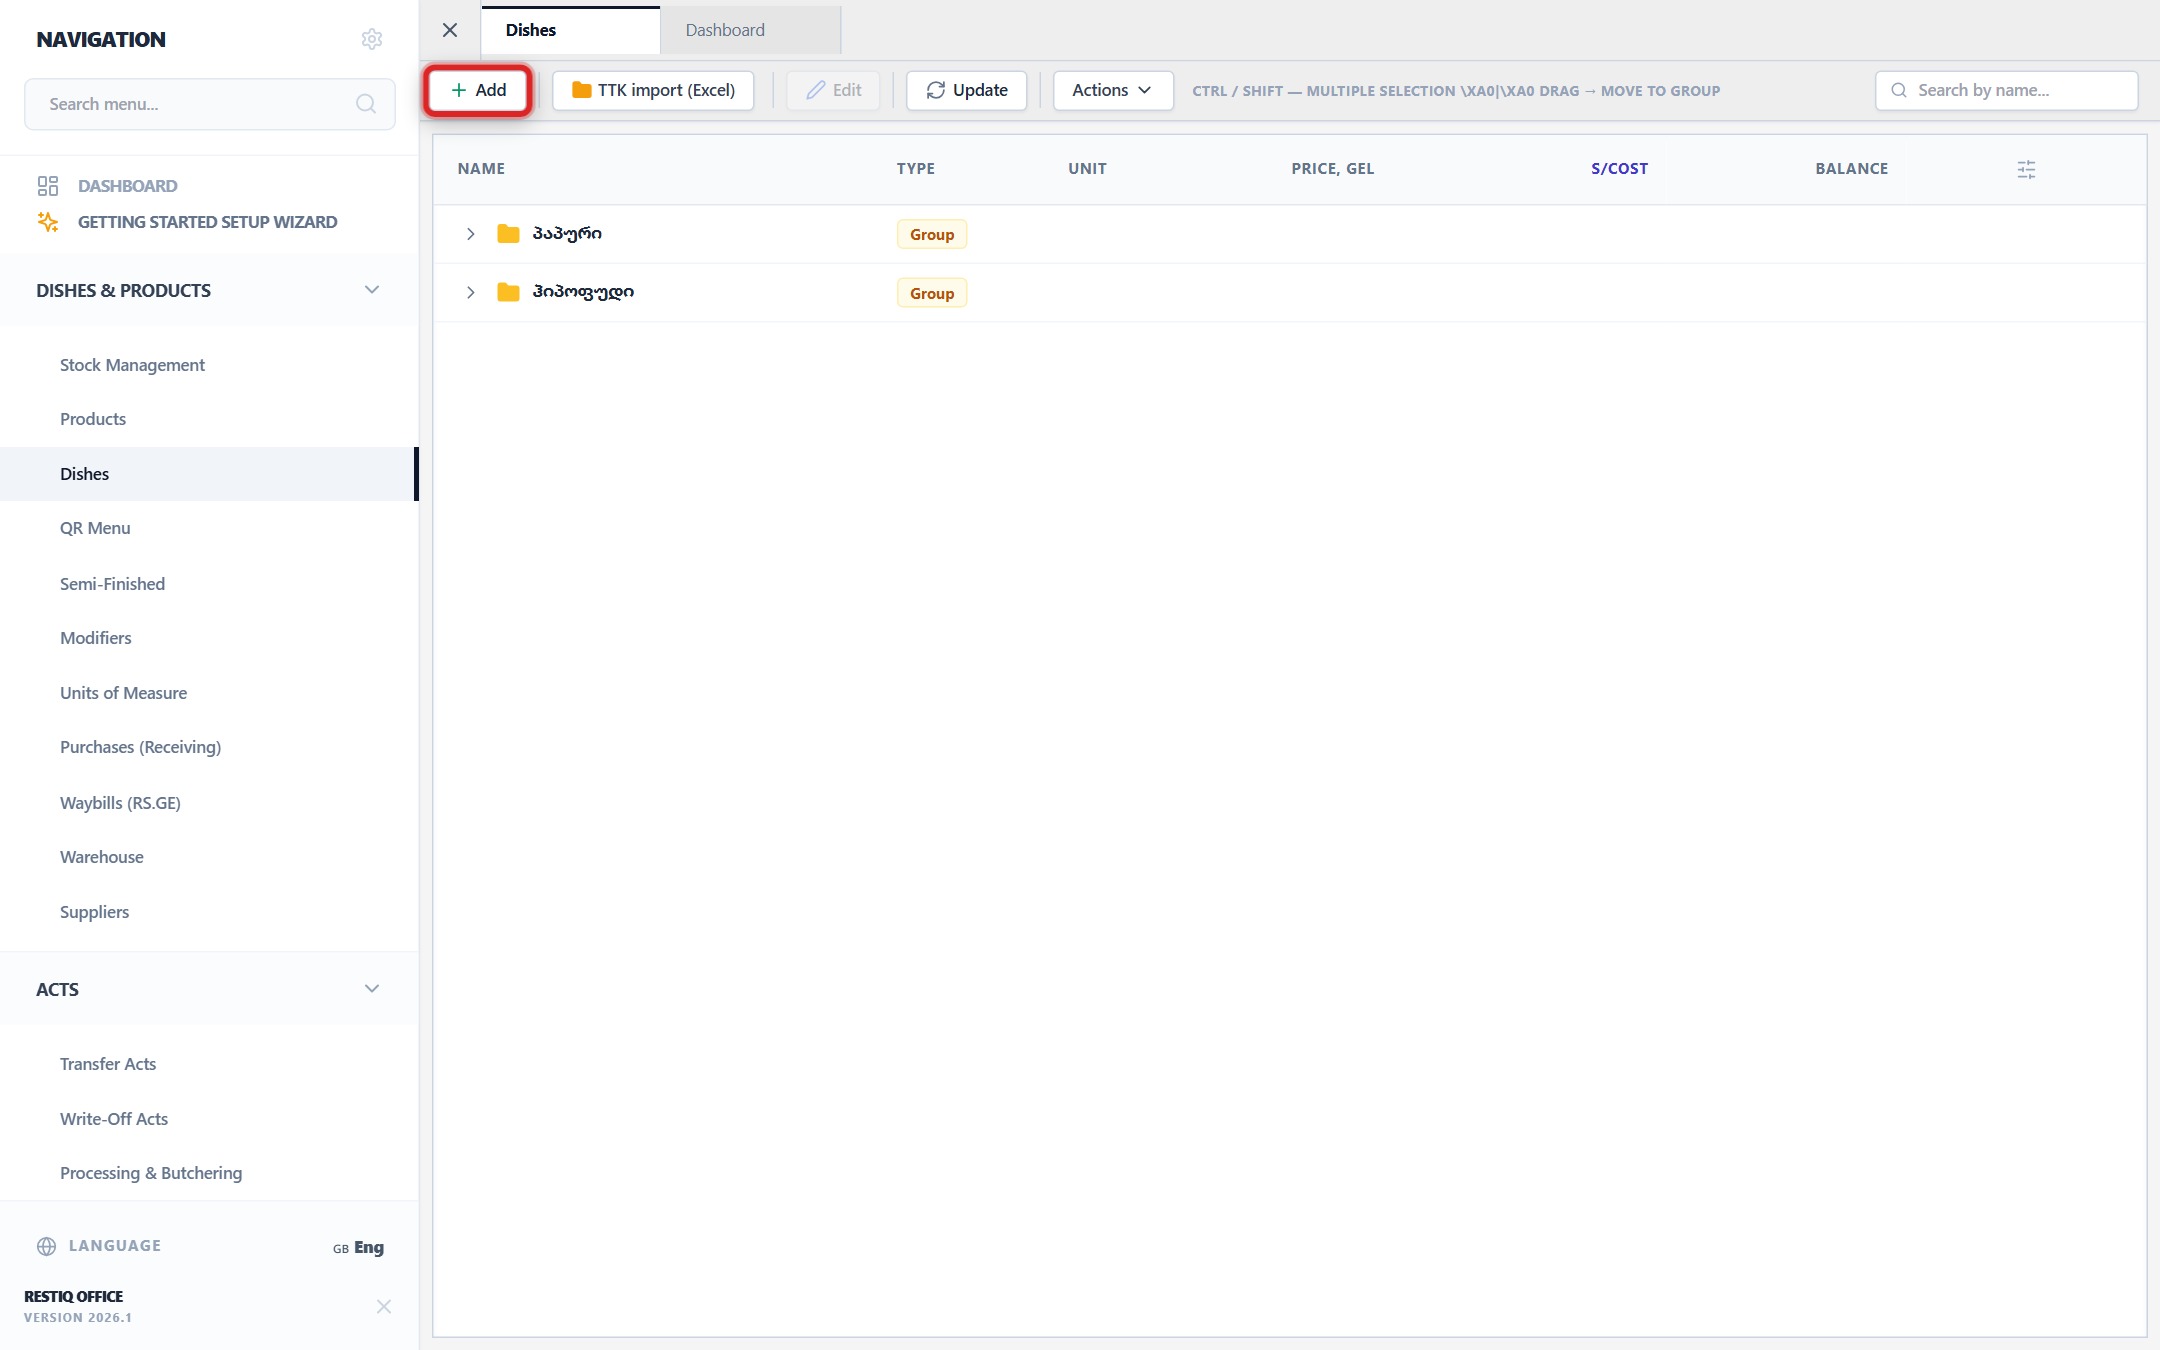
In the top toolbar of the Menu management view, click the "+ Add" button.
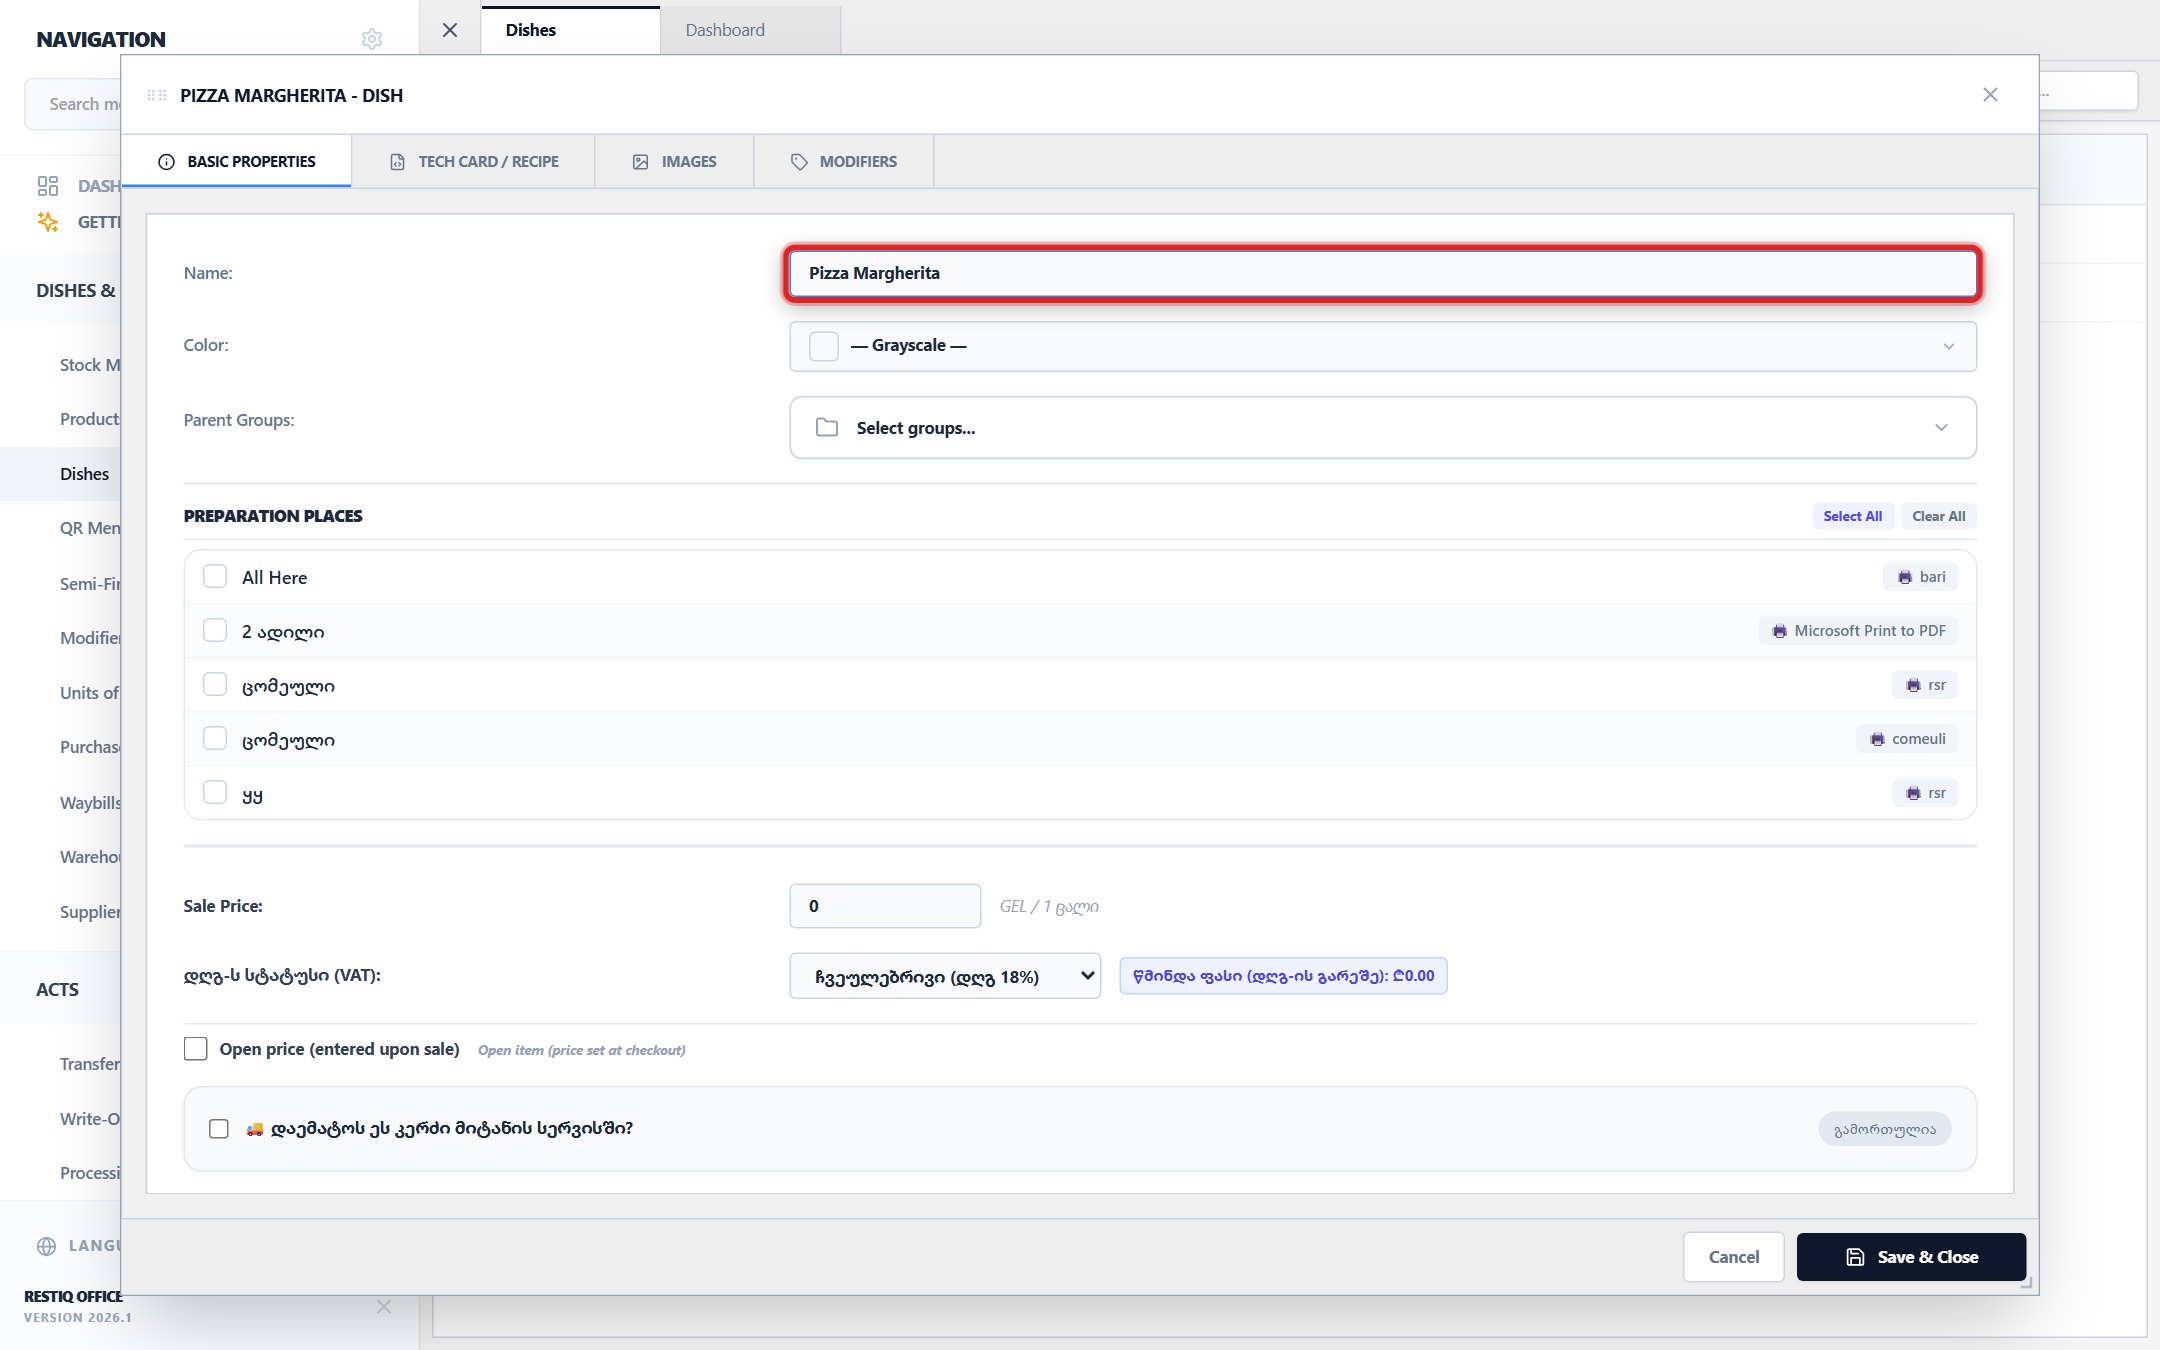
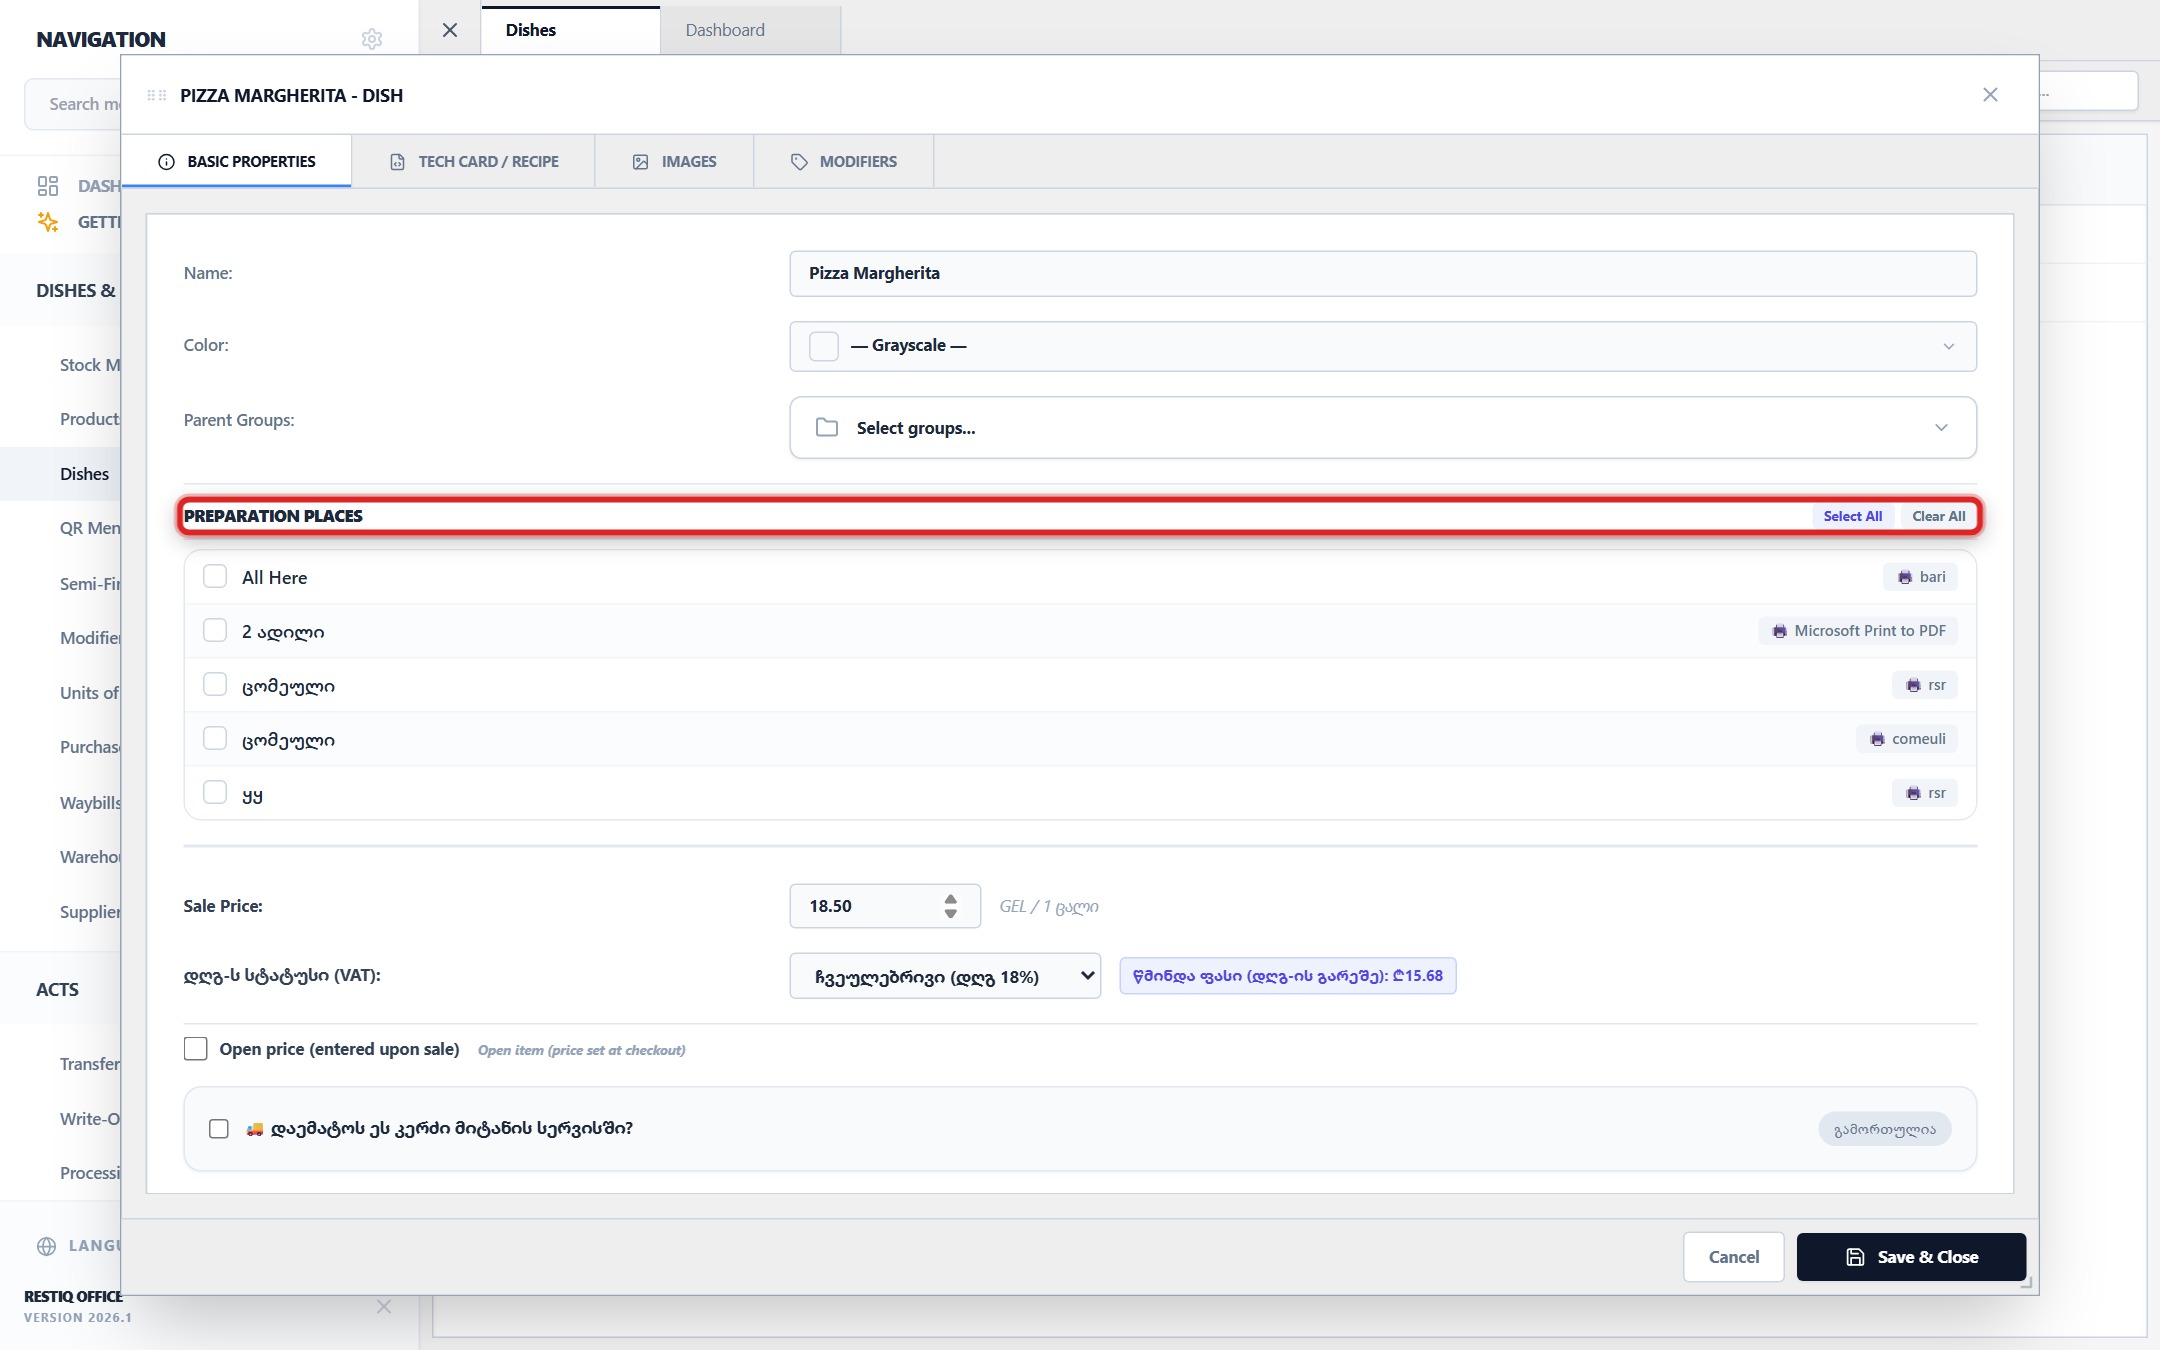
In the modal window, enter the dish title in the "Name" field (e.g., "Pizza Margherita").
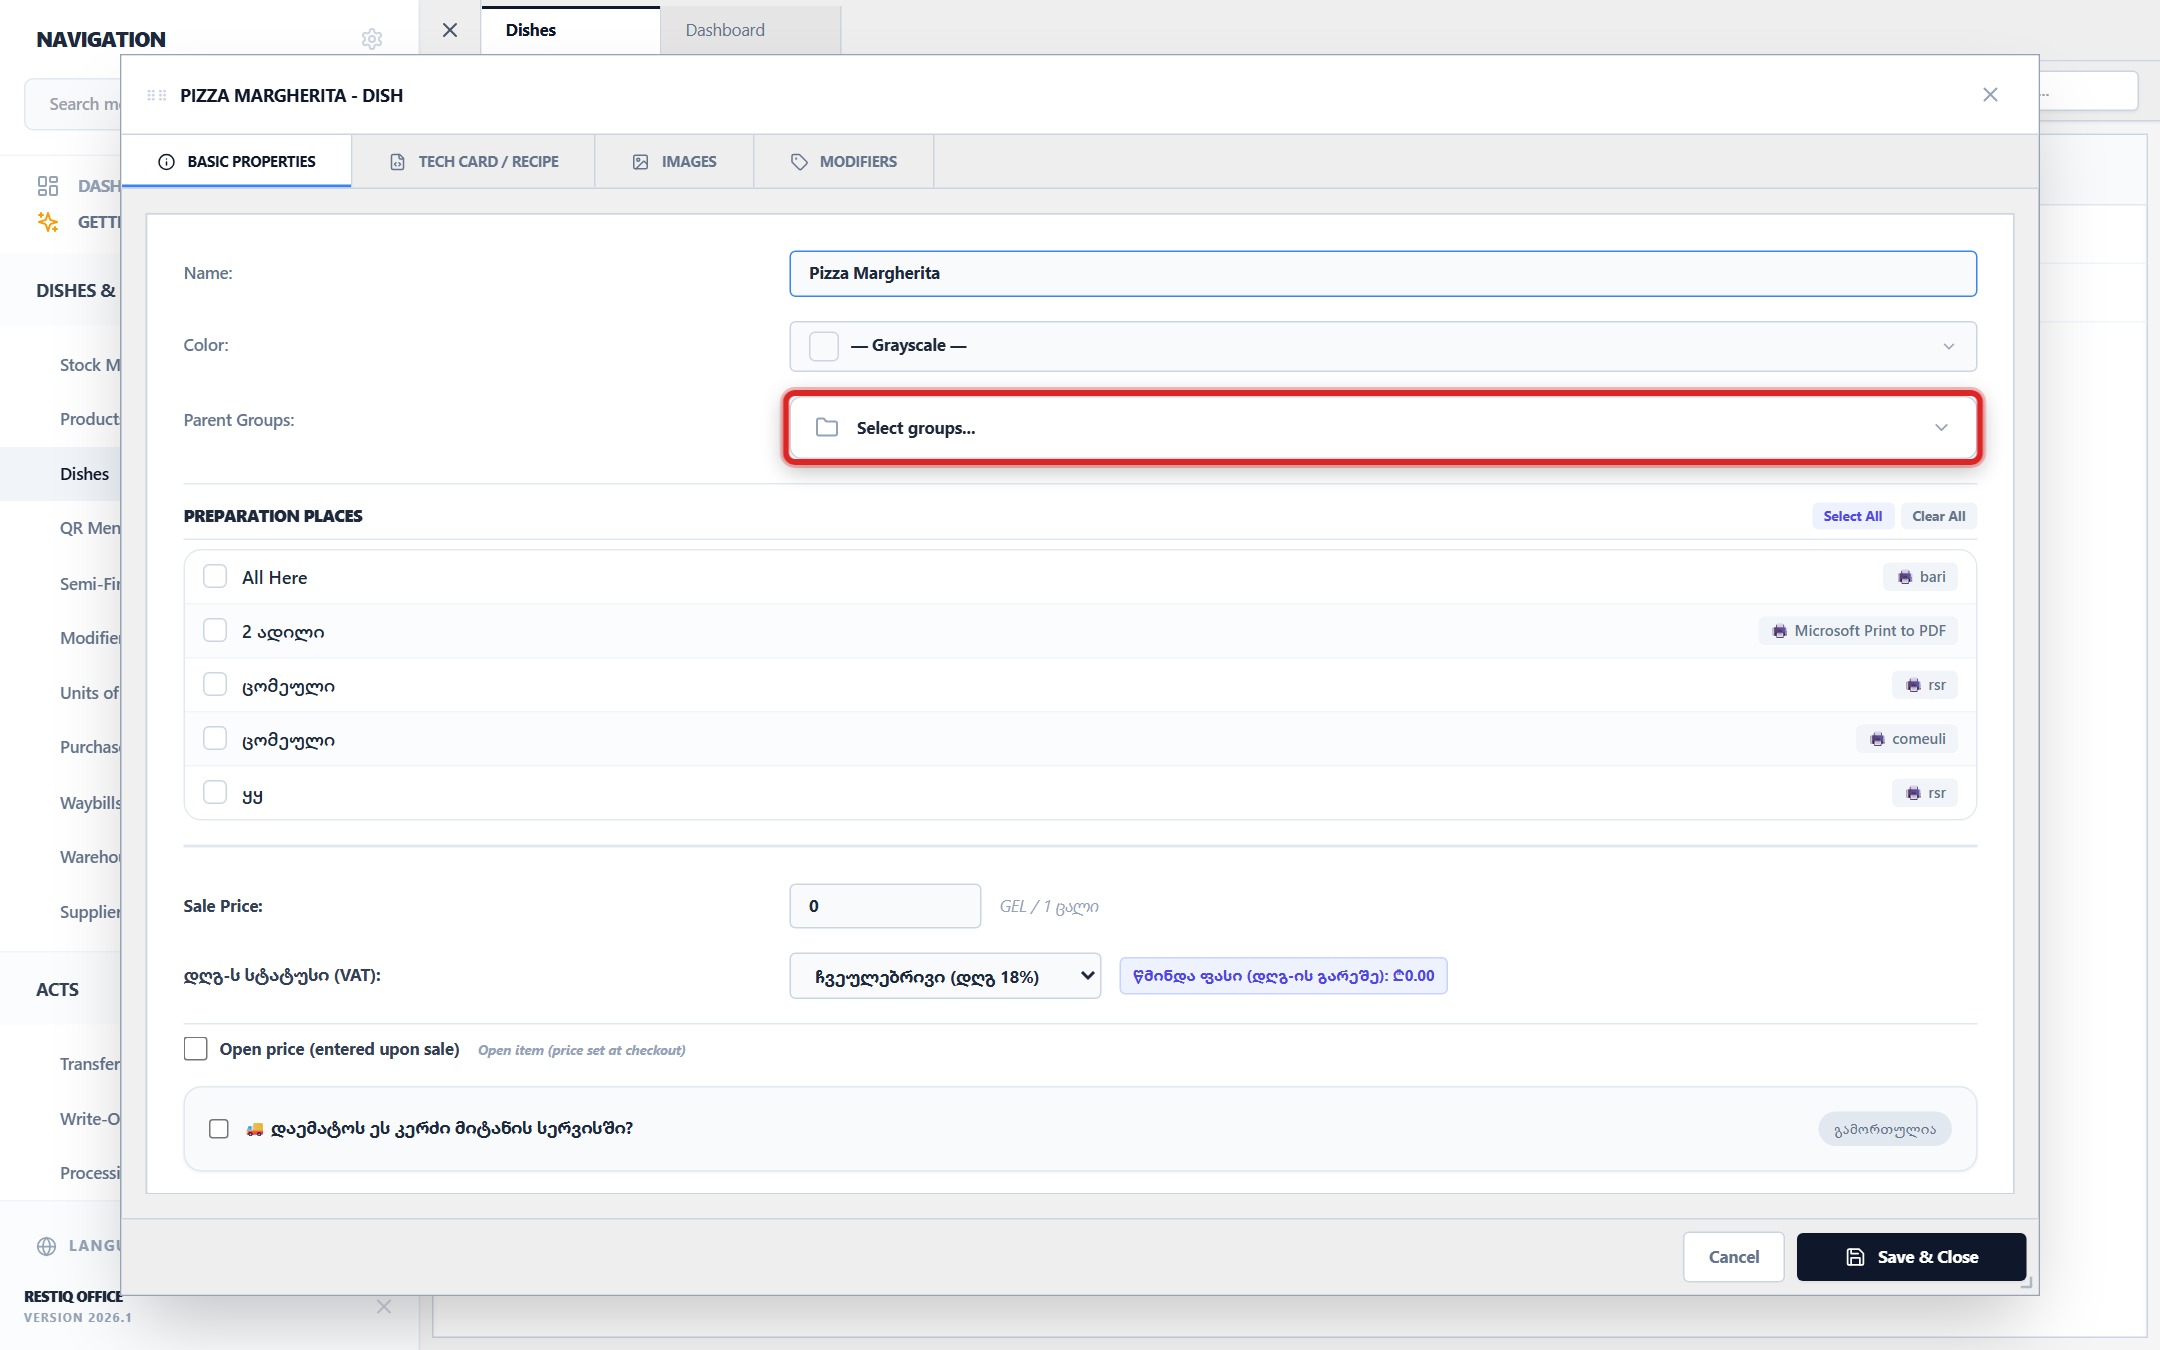
Select the target menu category in "Parent Groups" (e.g., "Pizzas", "Salads", "Beverages").
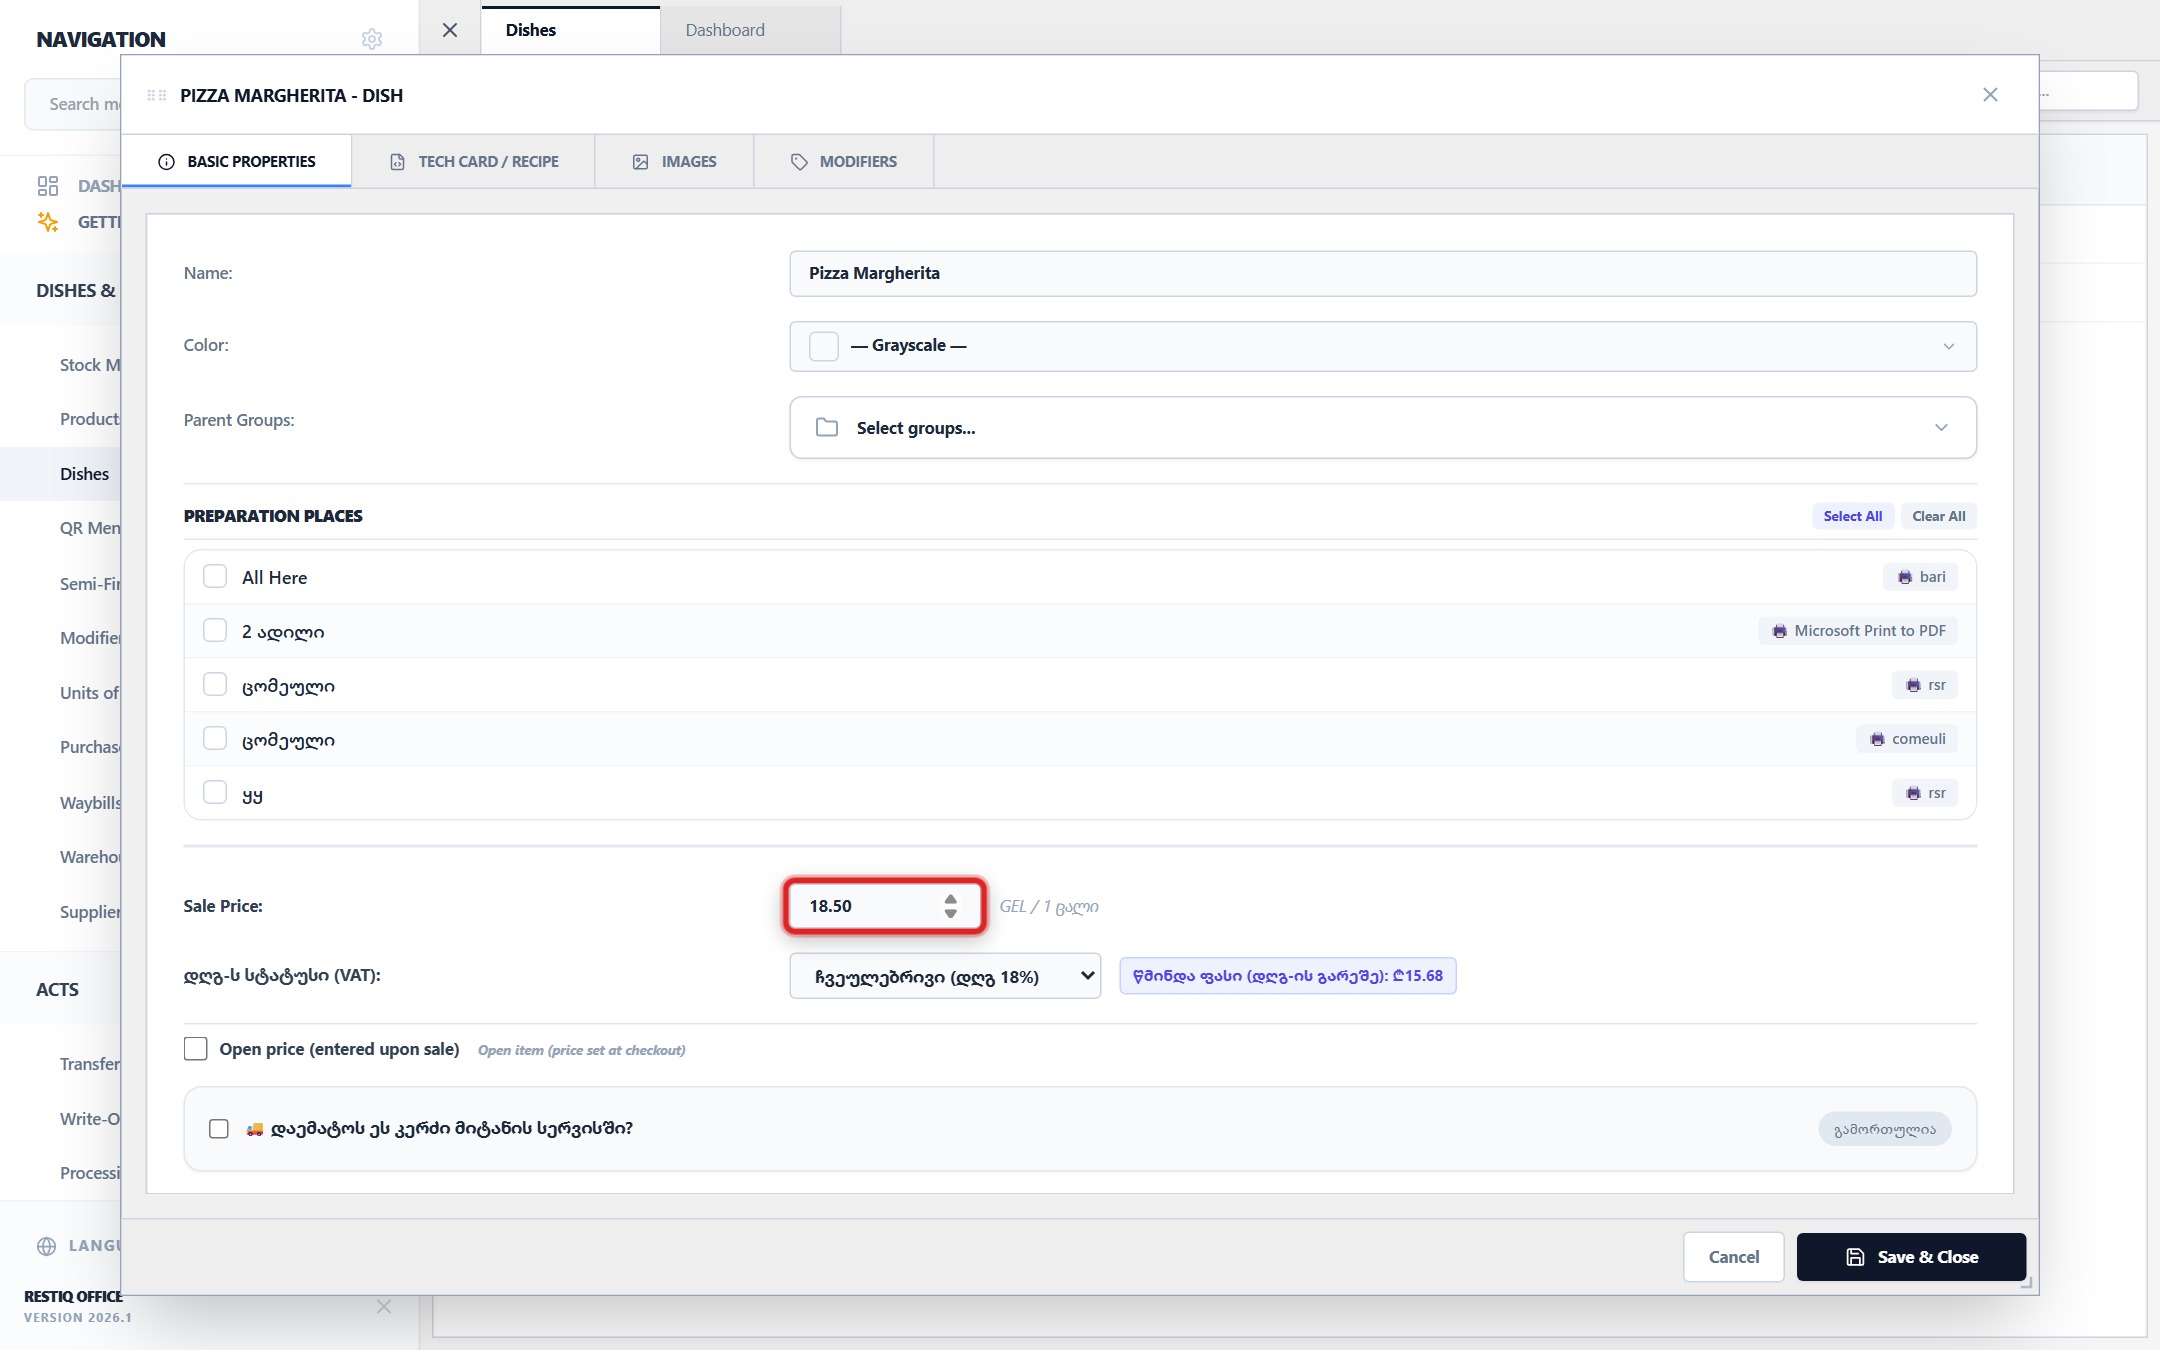
In the "Selling Price" field, enter the retail sale price in GEL.
In "Preparation Places", check the production stations (Kitchen, Bar, Grill) where order tickets should print.
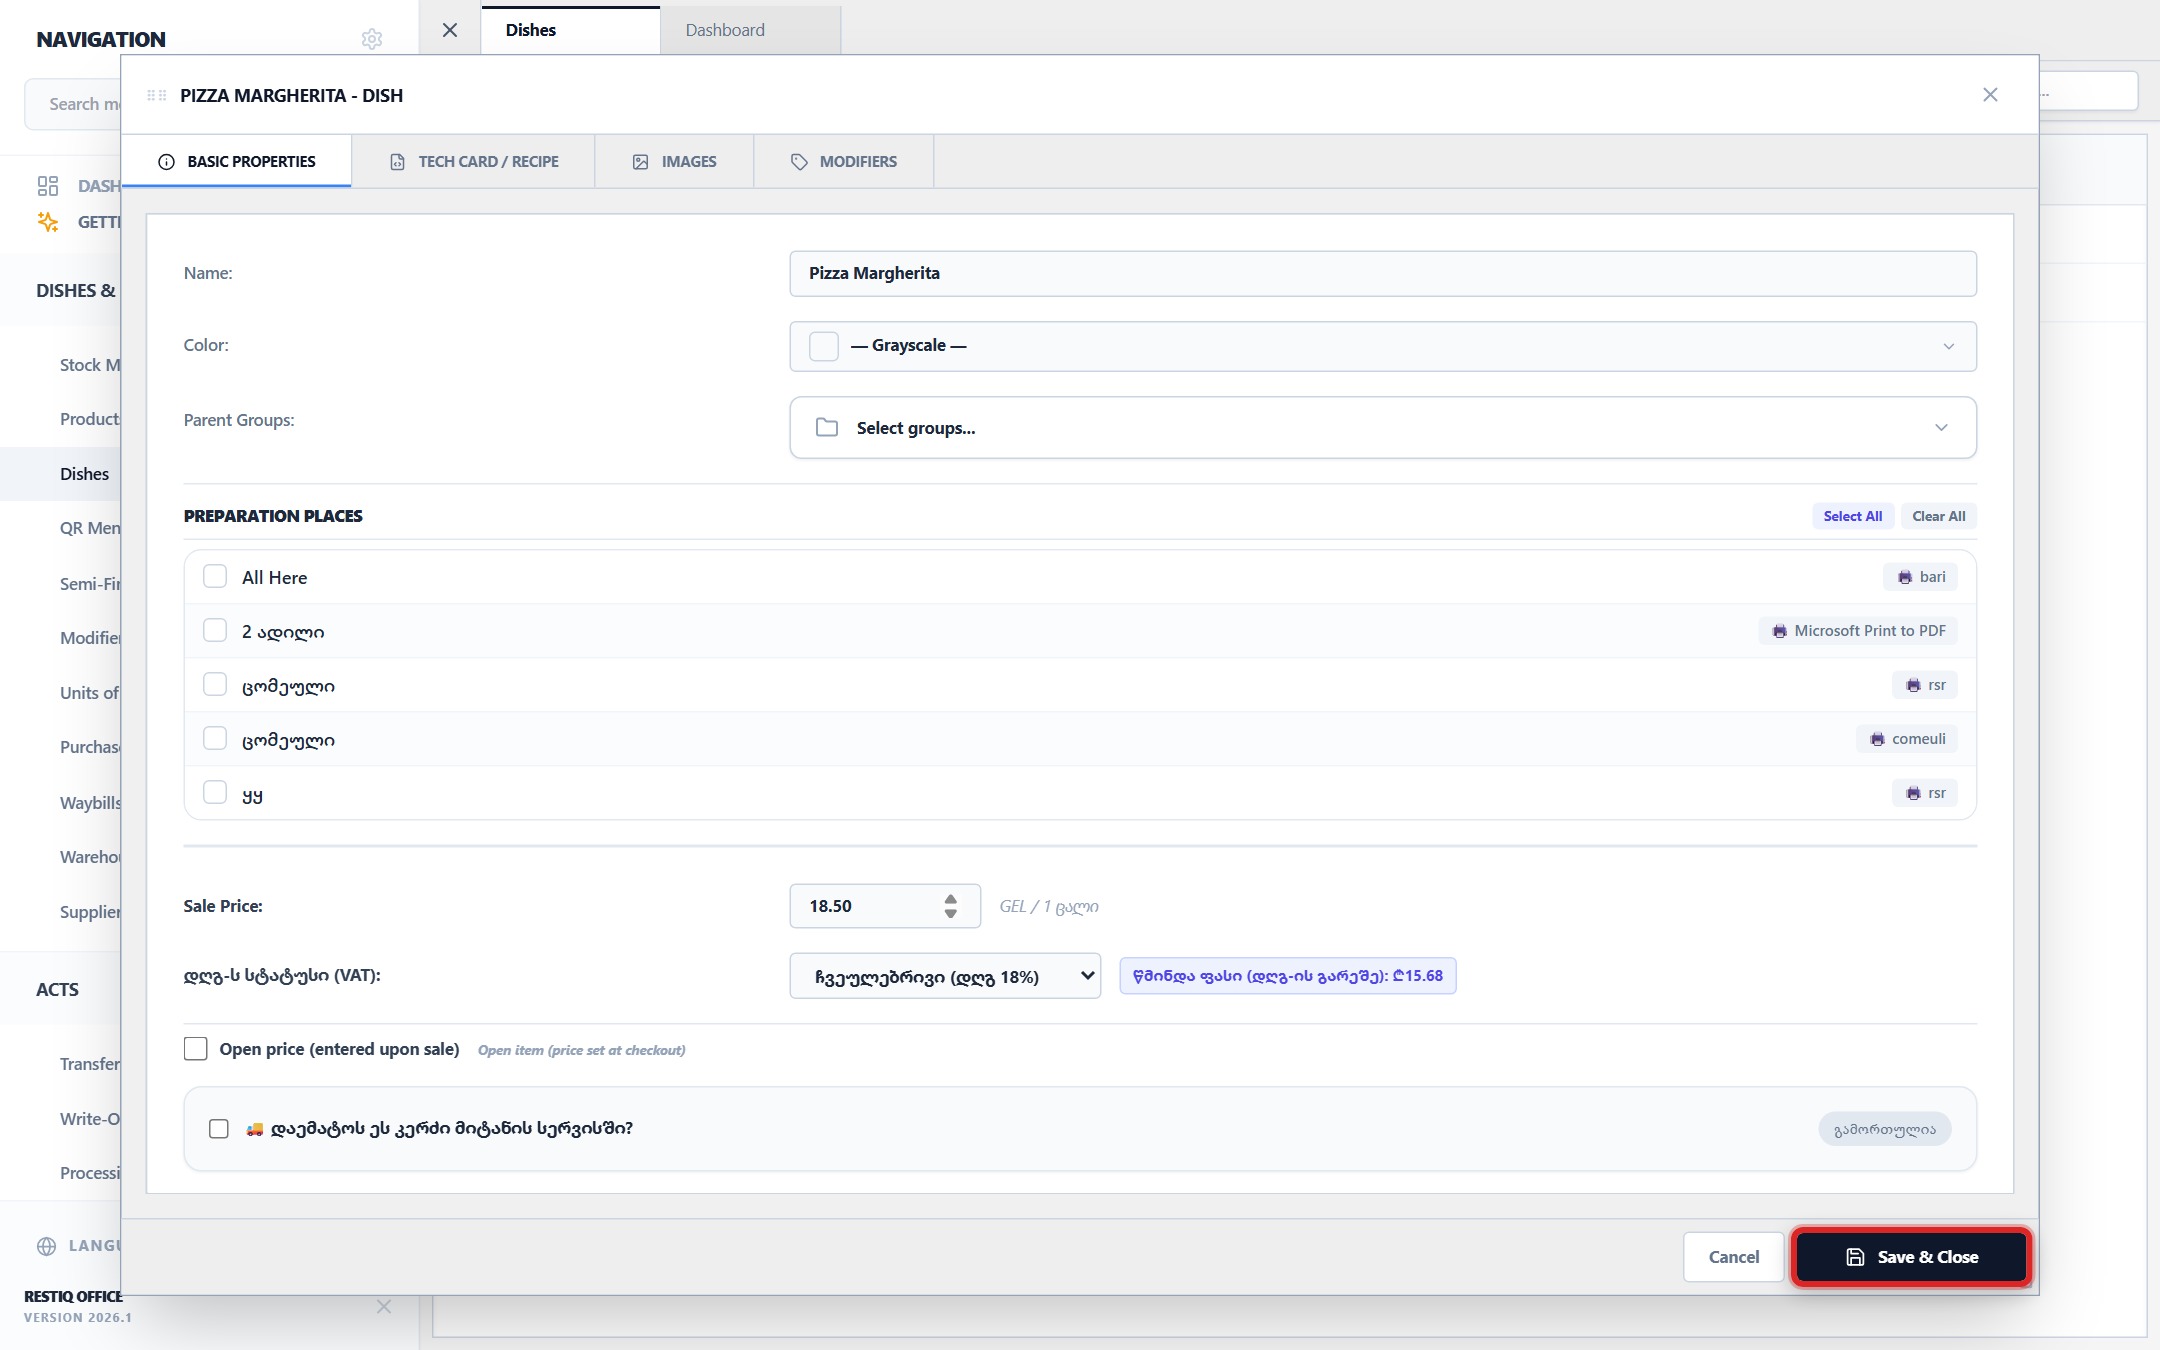
Review entered parameters and click "Save & Close".
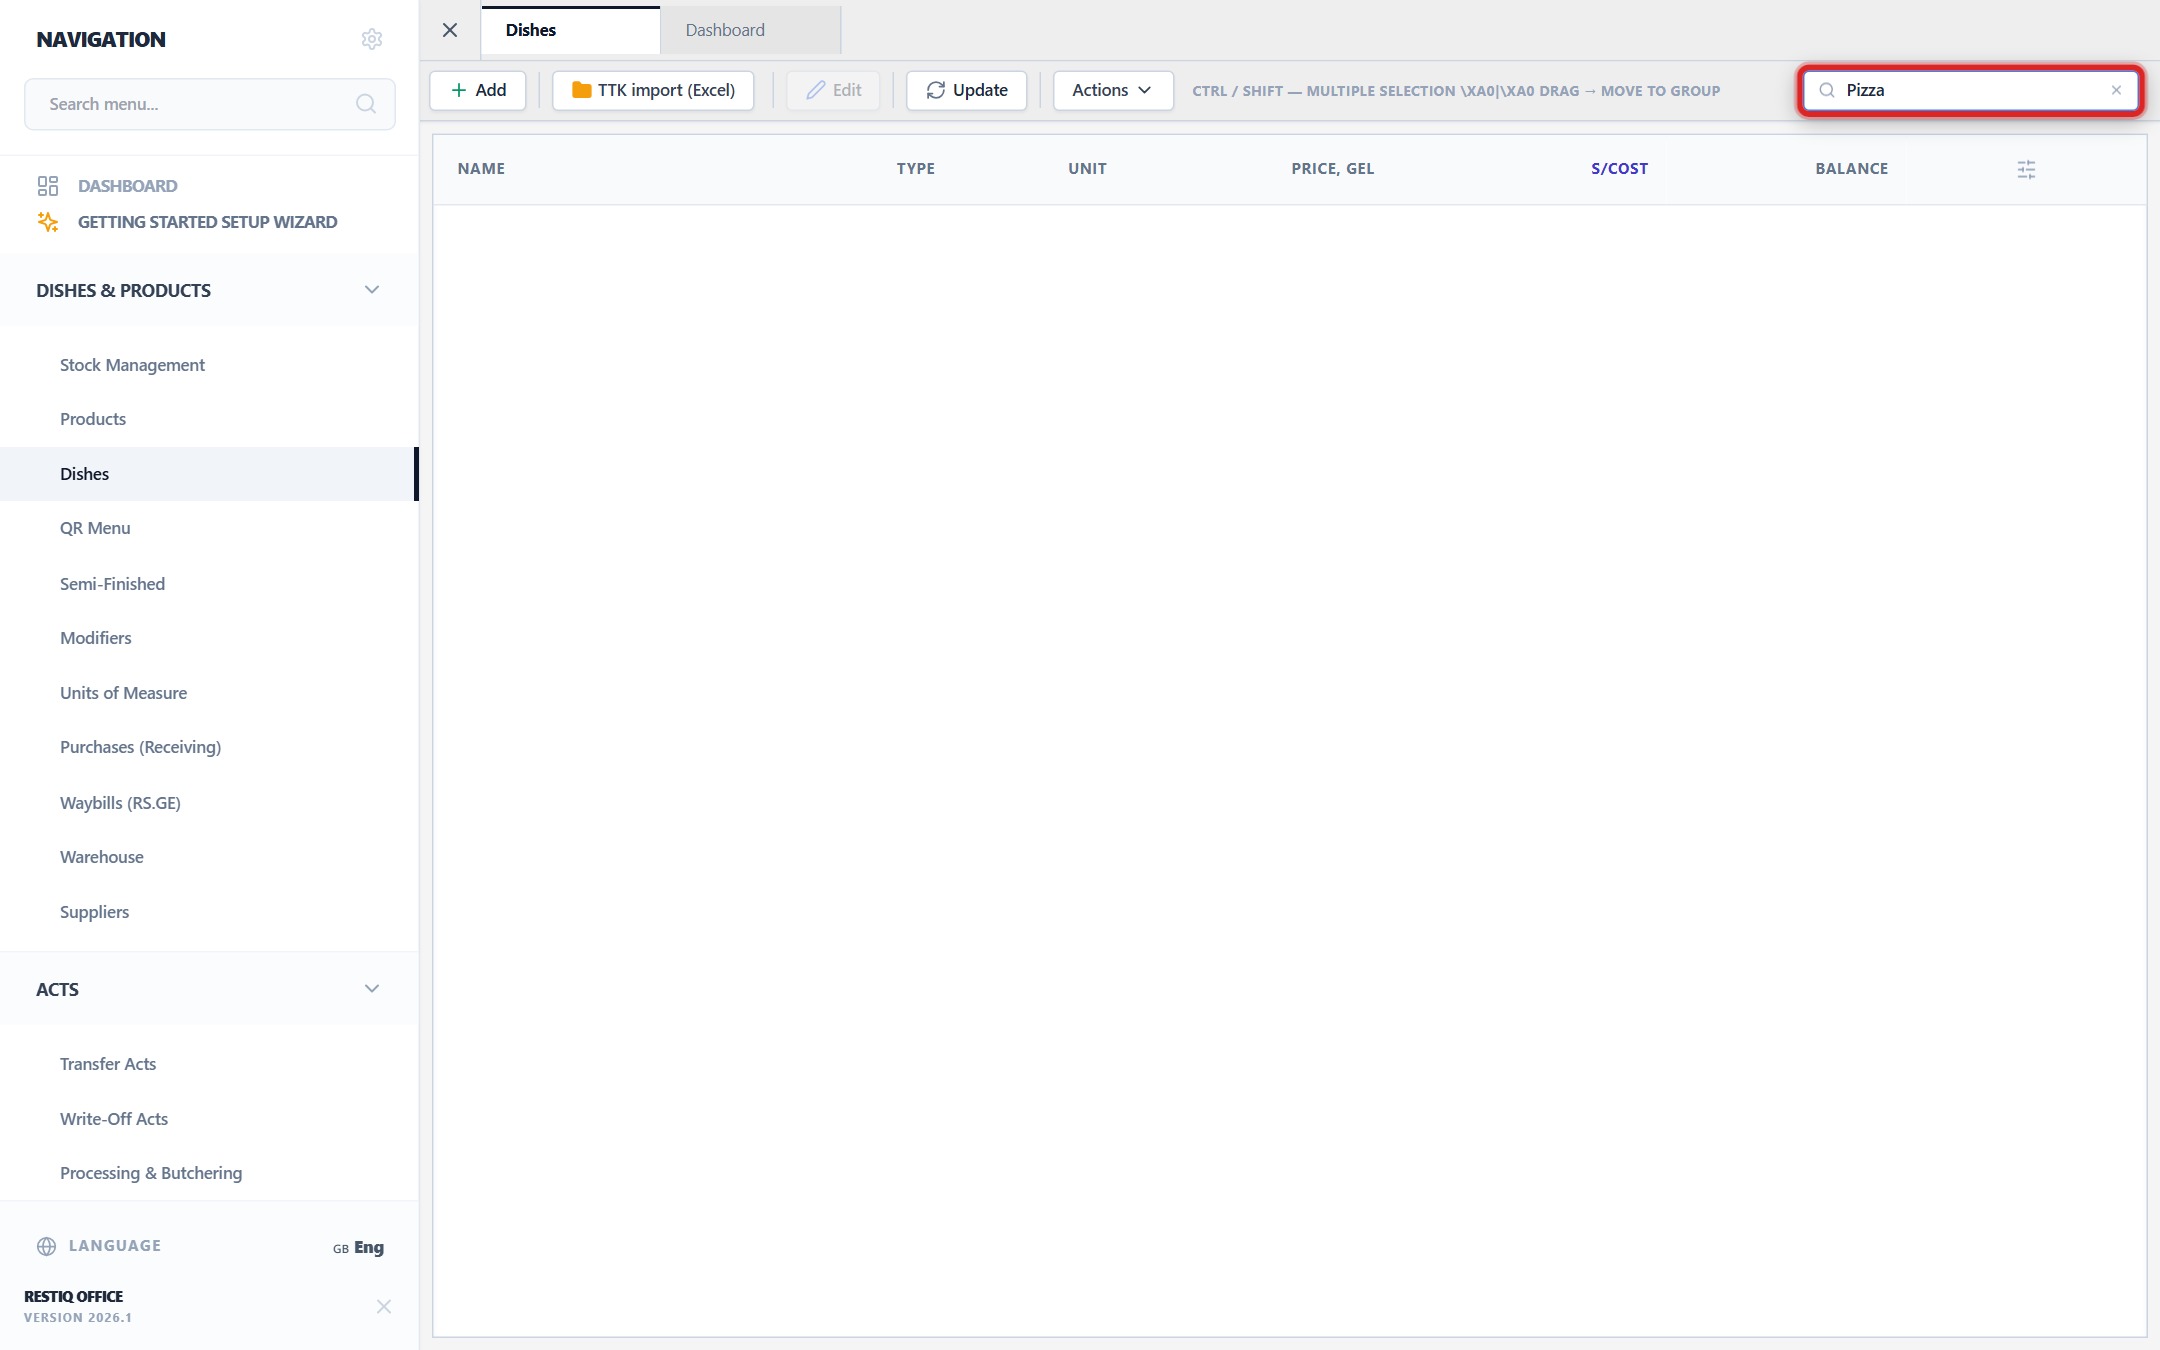
To filter or search existing menu items, use the search input above the catalog table.
The item appears in the menu tree, becomes active on POS terminals for waitstaff, and is ready for recipe tech card linkage.
Your feedback helps us continuously improve our documentation